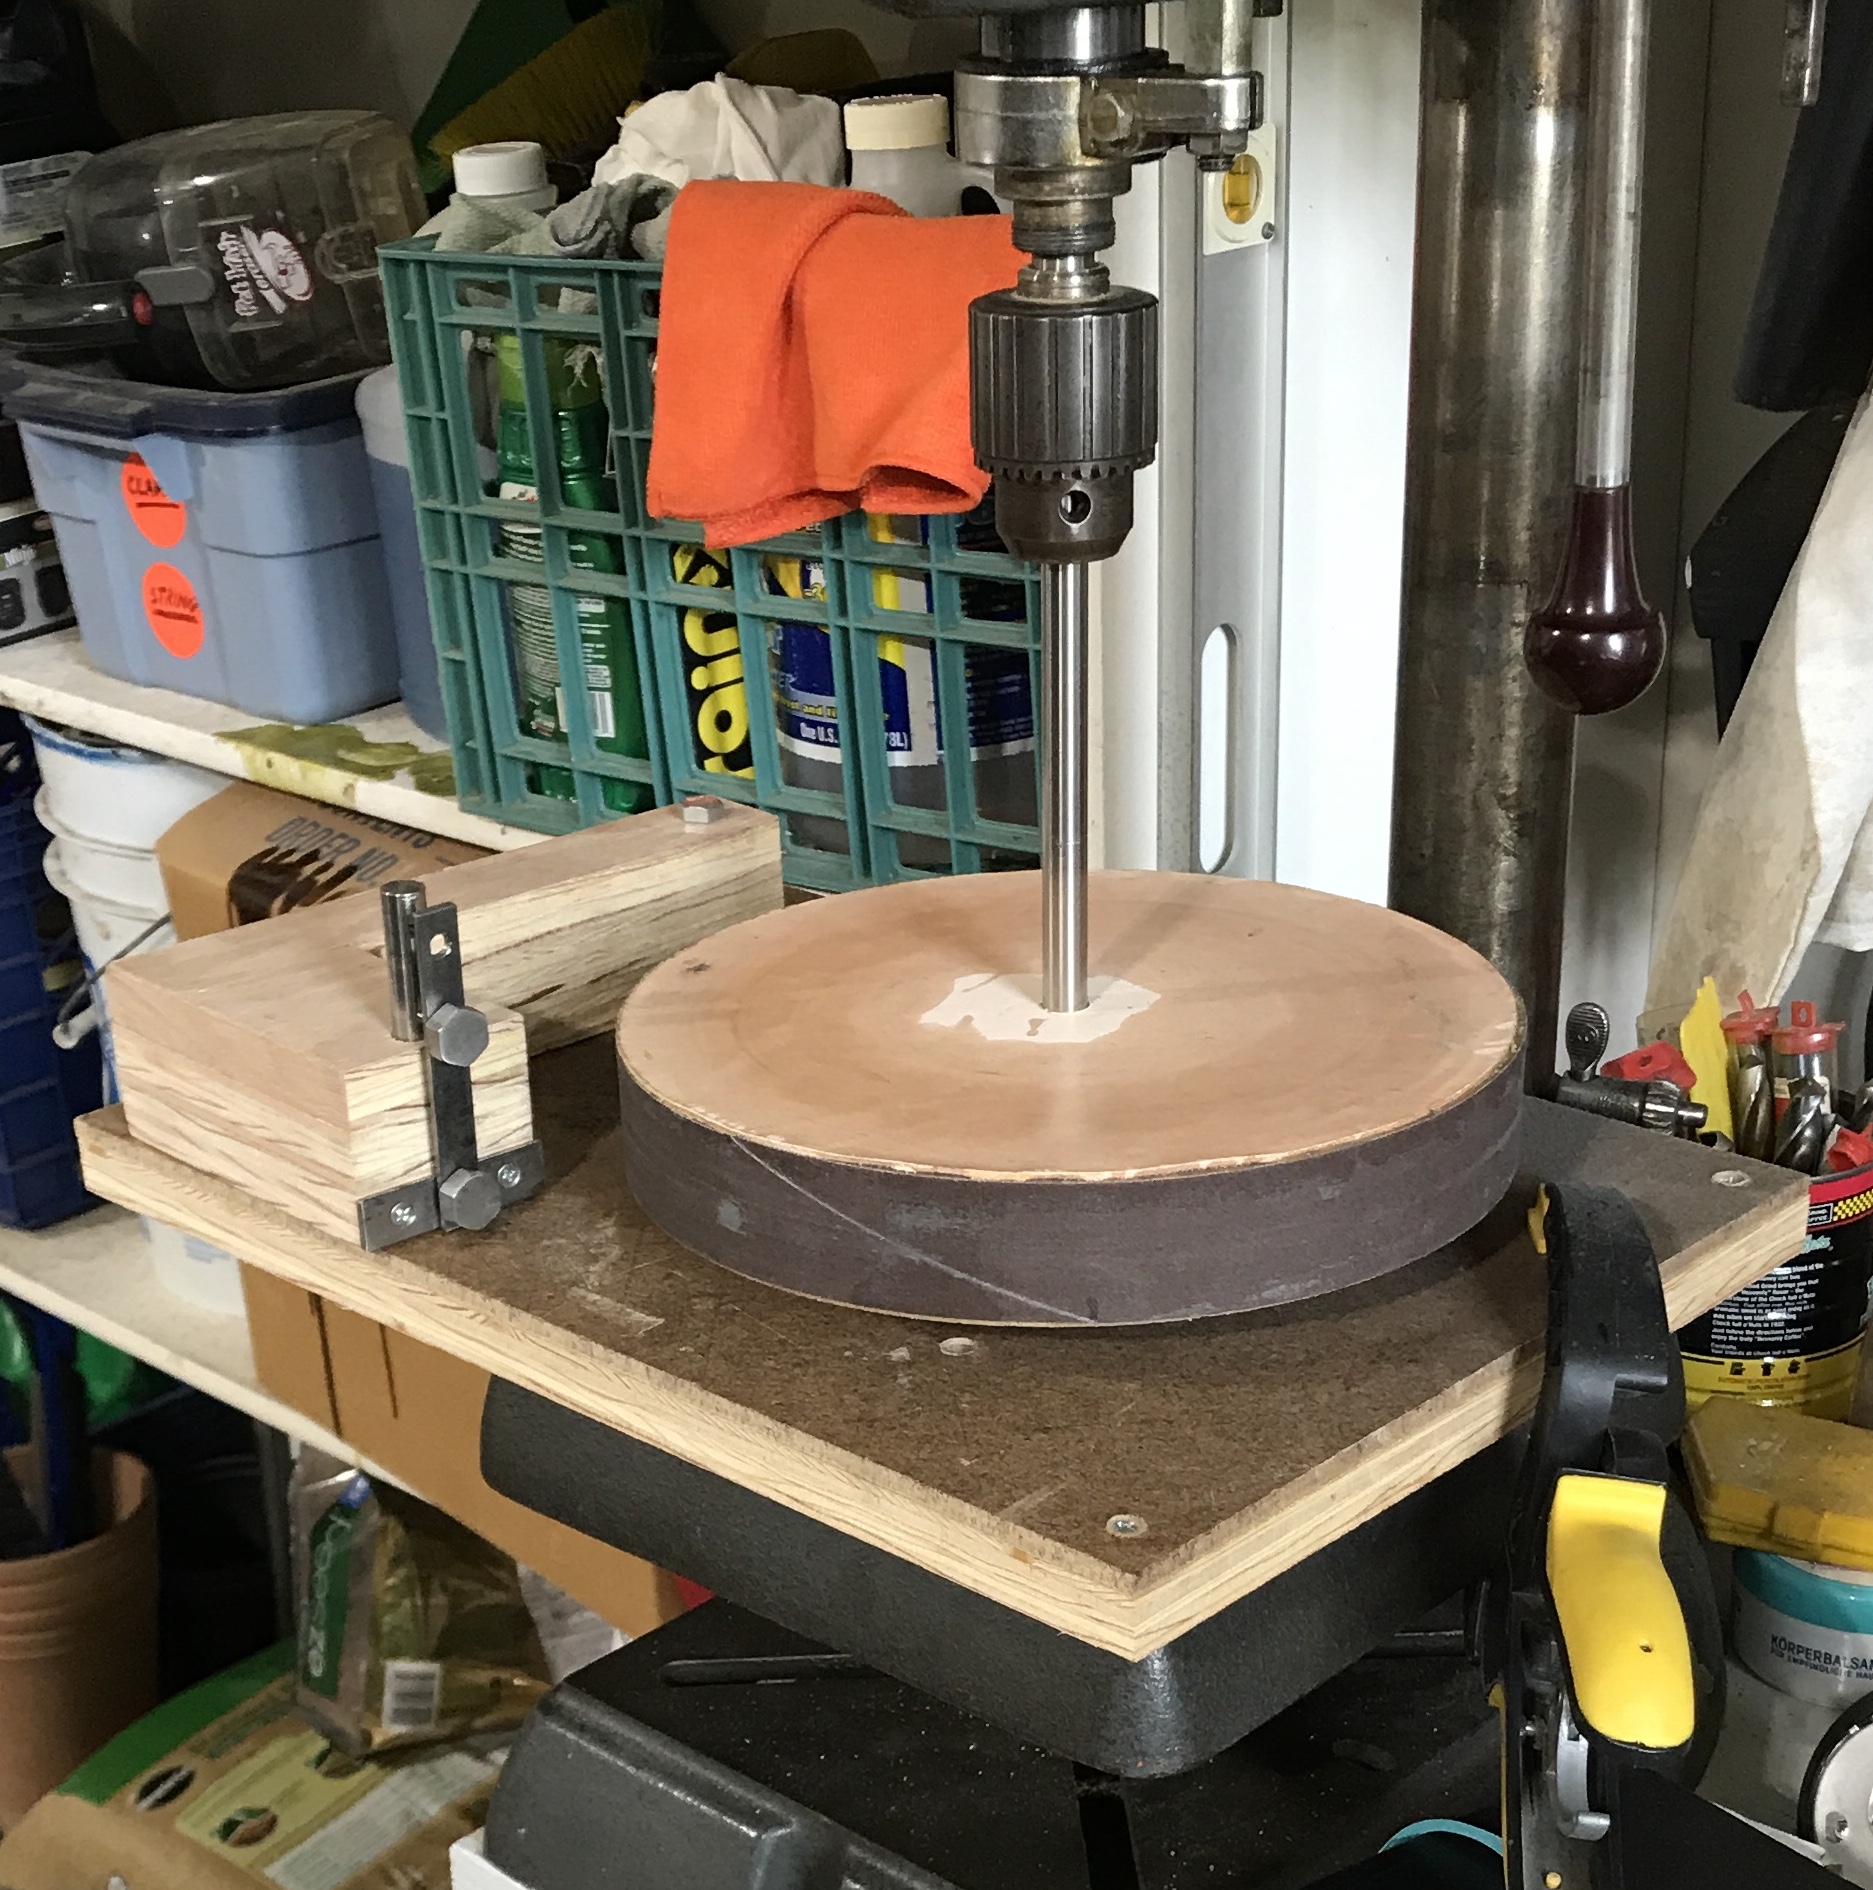
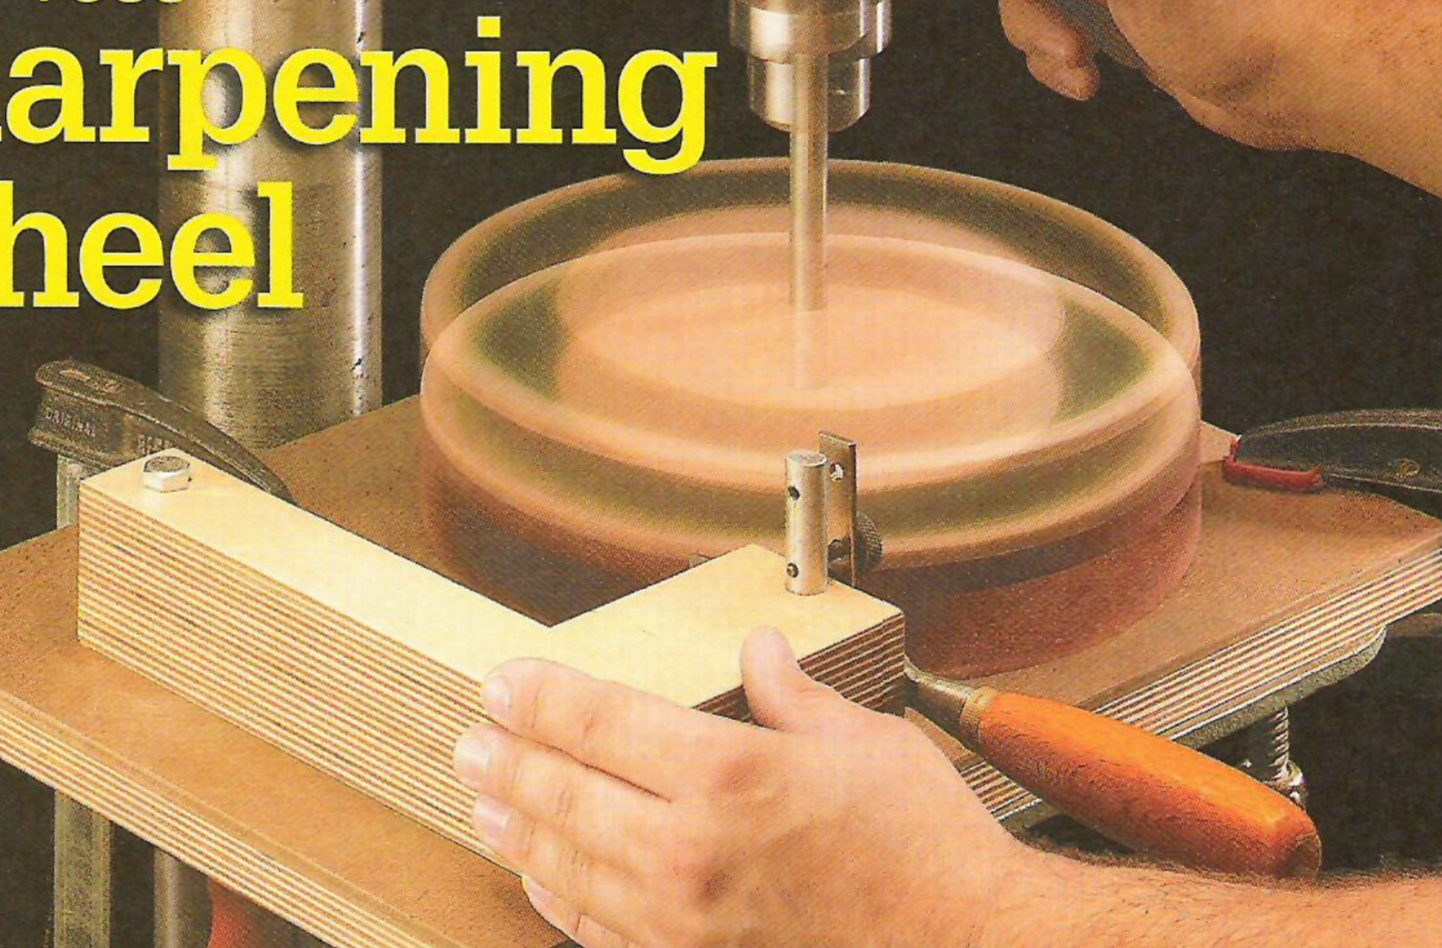
Looking through old ShopNotes and I came across the Drill Press Sharpening Wheel article. It looked fun to make and relatively simple. It also seems very useful for sharpening chisels, plane irons, gravers, and carving tools.
The base was made first. A large piece of plywood left over from my sister's shelves and a similarly sized piece of hardboard were located. They were both cut to 12" X 17" on the table saw. The boards were held together with a strip of double sided tape. A 3/4" hole was drilled through 6" in from the front and the right side. A second hole, 3/8" in diameter, was drilled 2 1/4" in from the left side and 3 3/8" from the back. The boards were taken apart. The 3/4" hole had a 1" chamfer for the bearing flange drilled with the large drill press 1/8" deep.
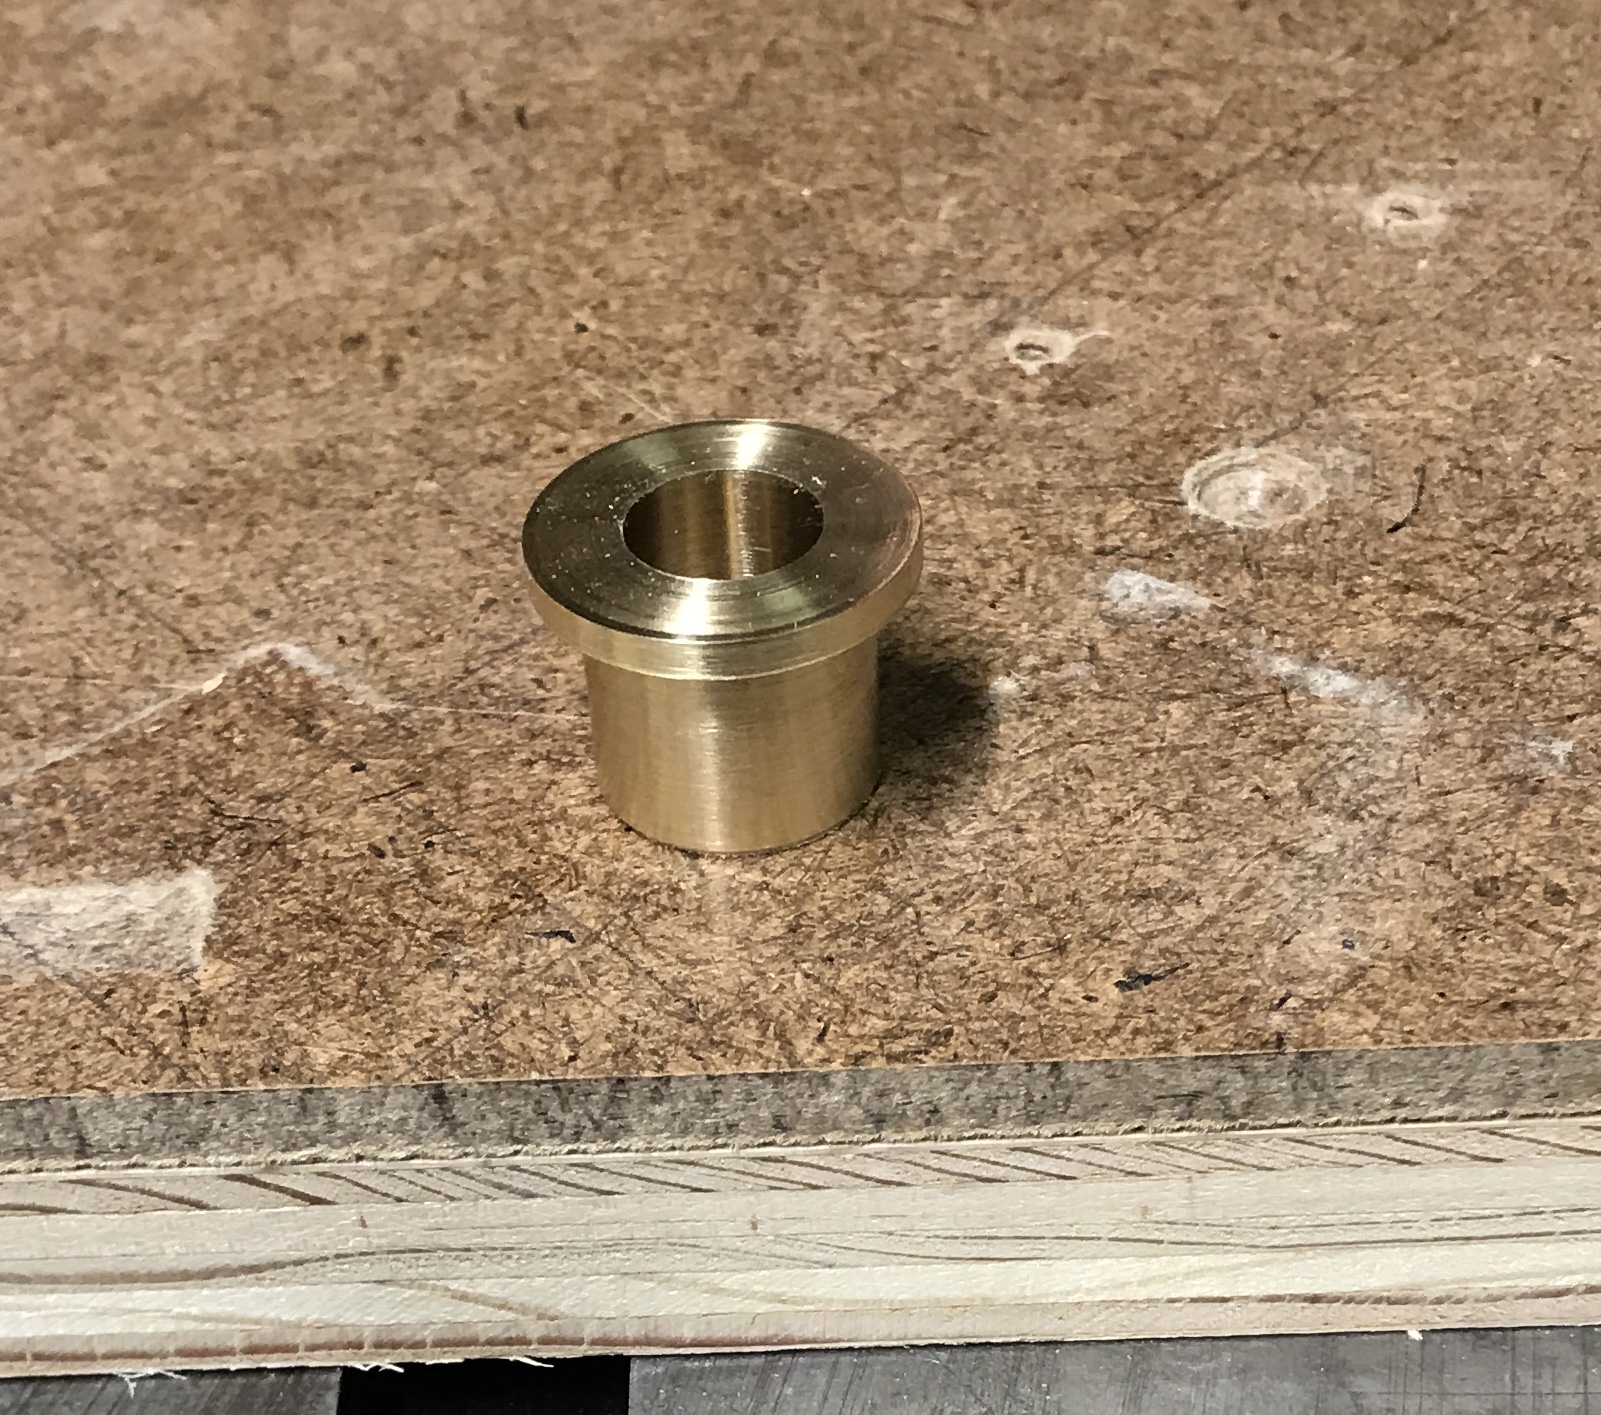
A bearing was made to fit this hole. A 1 3/8" length of 1" brass hex was cut from stock. It was put in a three jaw chuck and faced on one end. The diameter was reduced to 1" for 1" and then further reduced to 3/4" for 3/4". A hole was drilled up to 31/64" and the final 1/2" diameter was achieved with a reamer. Had to move from the Sherline to the South Bend to accomplish this. Should have started on the South Bend. The bearing was parted off at 7/8" after chamfering some corners. The bearing was pressed into the plywood base and the hardboard was attached with four #8-5/8" wood screws. The bearing is shown below.
The arm is made from three pieces of 3/4" plywood glued together. The arm is cut from a 5" X 9 3/8" blank. Three scraps of plywood were cut to 5" widths. Three 9 3/8" lengths of wood were cut from these pieces with a stop block set on the crosscut sled. The three pieces were glued together and left to dry overnight.
The wheel is topped with leather for honing the tool. There is an old leather supplier in downtown Indy, Landwerlen Leather, on 365 S. Illinois. I might go there just to see and smell the shop. Alternatively, Tandy Leather online sells a 12" square of vegetable tanned leather (3-5 oz. wt.) for $25.
The arm was marked out on the blank. The long leg is 1.5" wide and the short leg is 2.5" wide. The two cuts were made first with a Dozuki and then the line was followed with a carpenter's saw. The faces were sanded lightly as needed and the corners lightly chamfered. Two holes were marked out. A 1/2" hole was marked in the center of the short leg 3/8" from the end. A 3/8" hole was located on center and 3/4" in from the end on the long leg. Both holes were drilled with the drill press.
A strip of crap 1/8" X 3/4" steel from the hardware store was cut to 2.5". It was squared up in the mill and the rounded edges were flattened. The width was reduced to 5/8". The edges were filed and the faces sanded. Two holes were drilled. They were each 1/2" in from the edge and centered. They were drilled with a #24 drill and deeply countersunk for #6-1" wood screws. This was attached to the bottom of the short arm face. It serves as the tool rest.
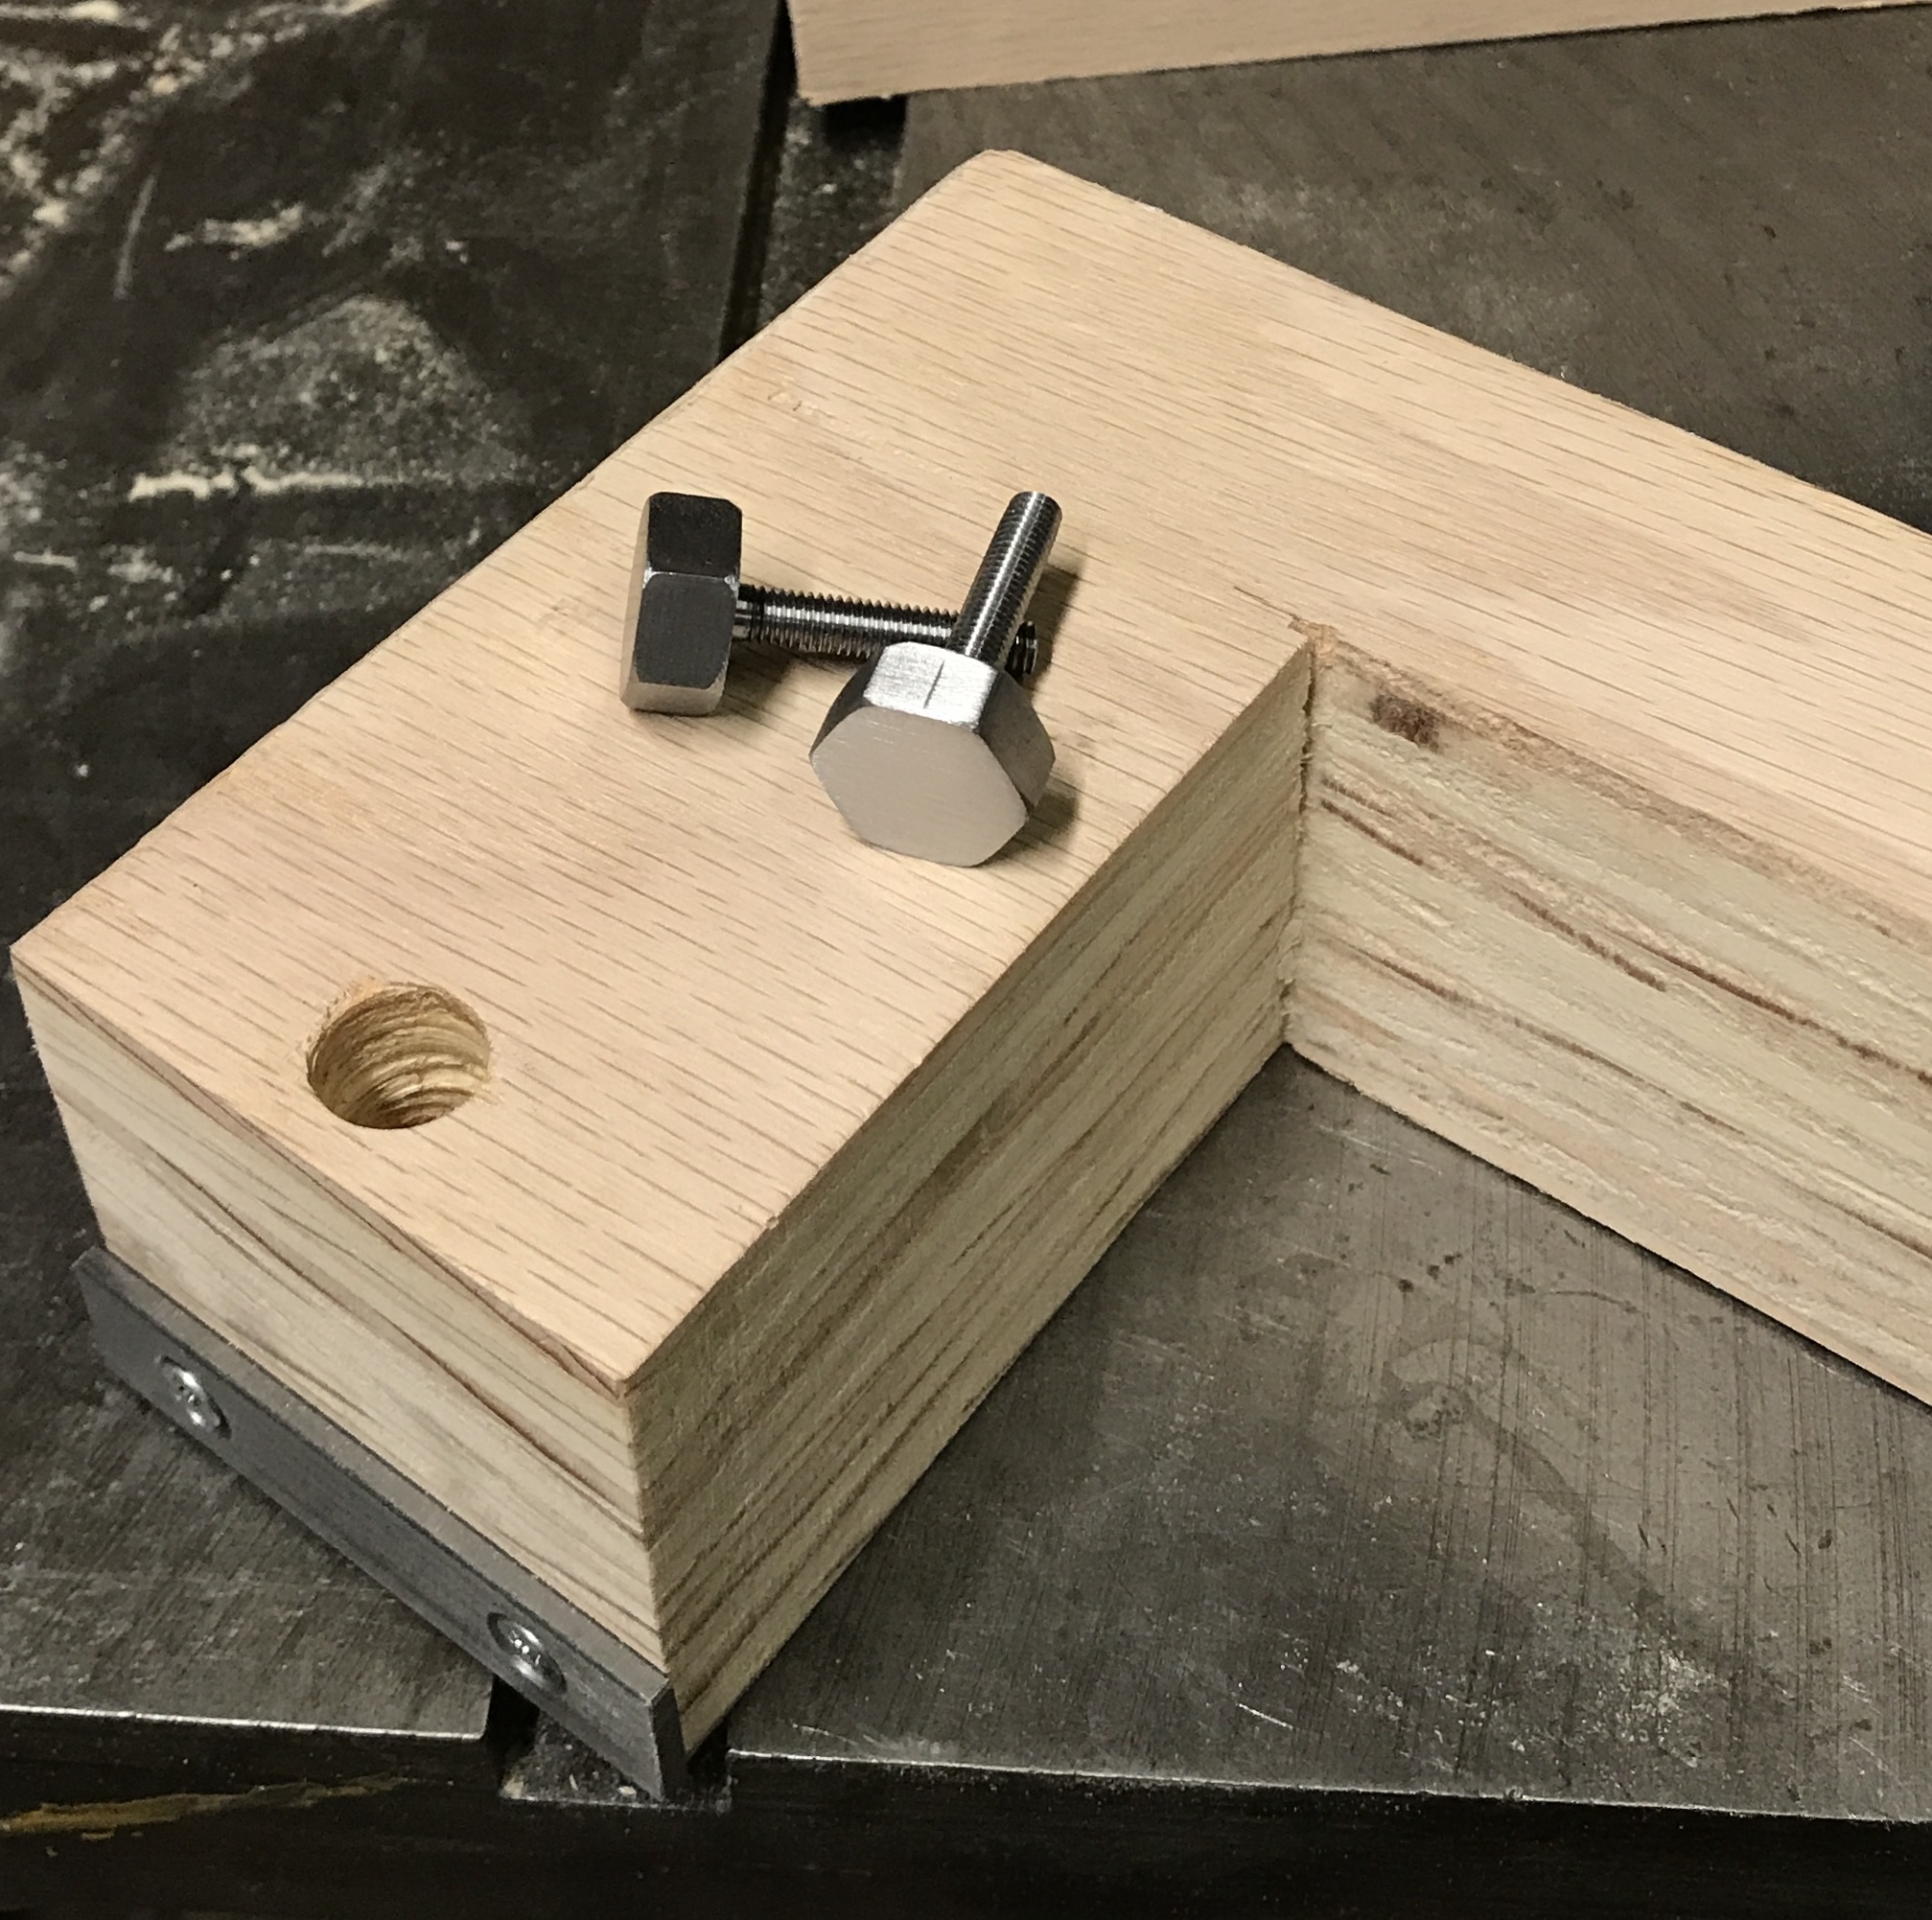
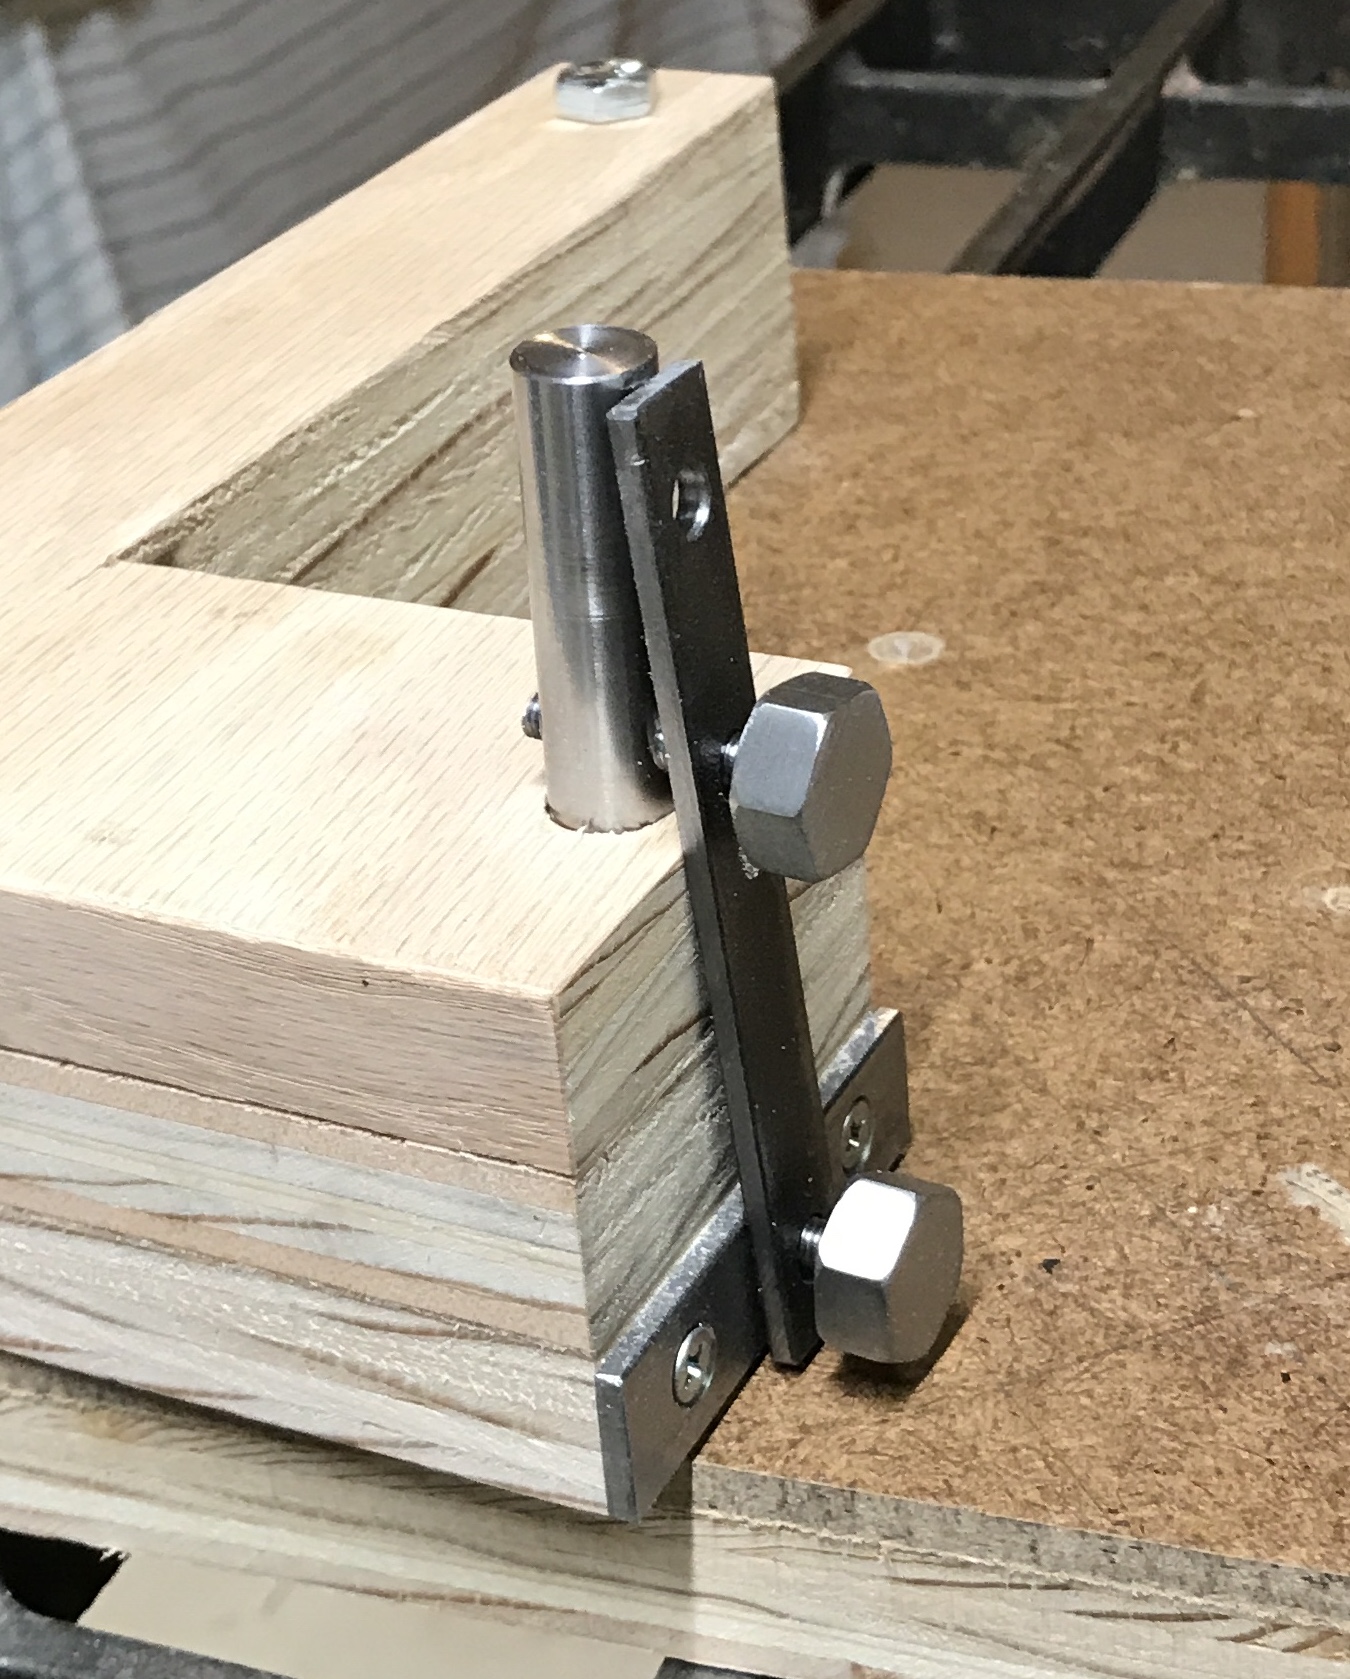
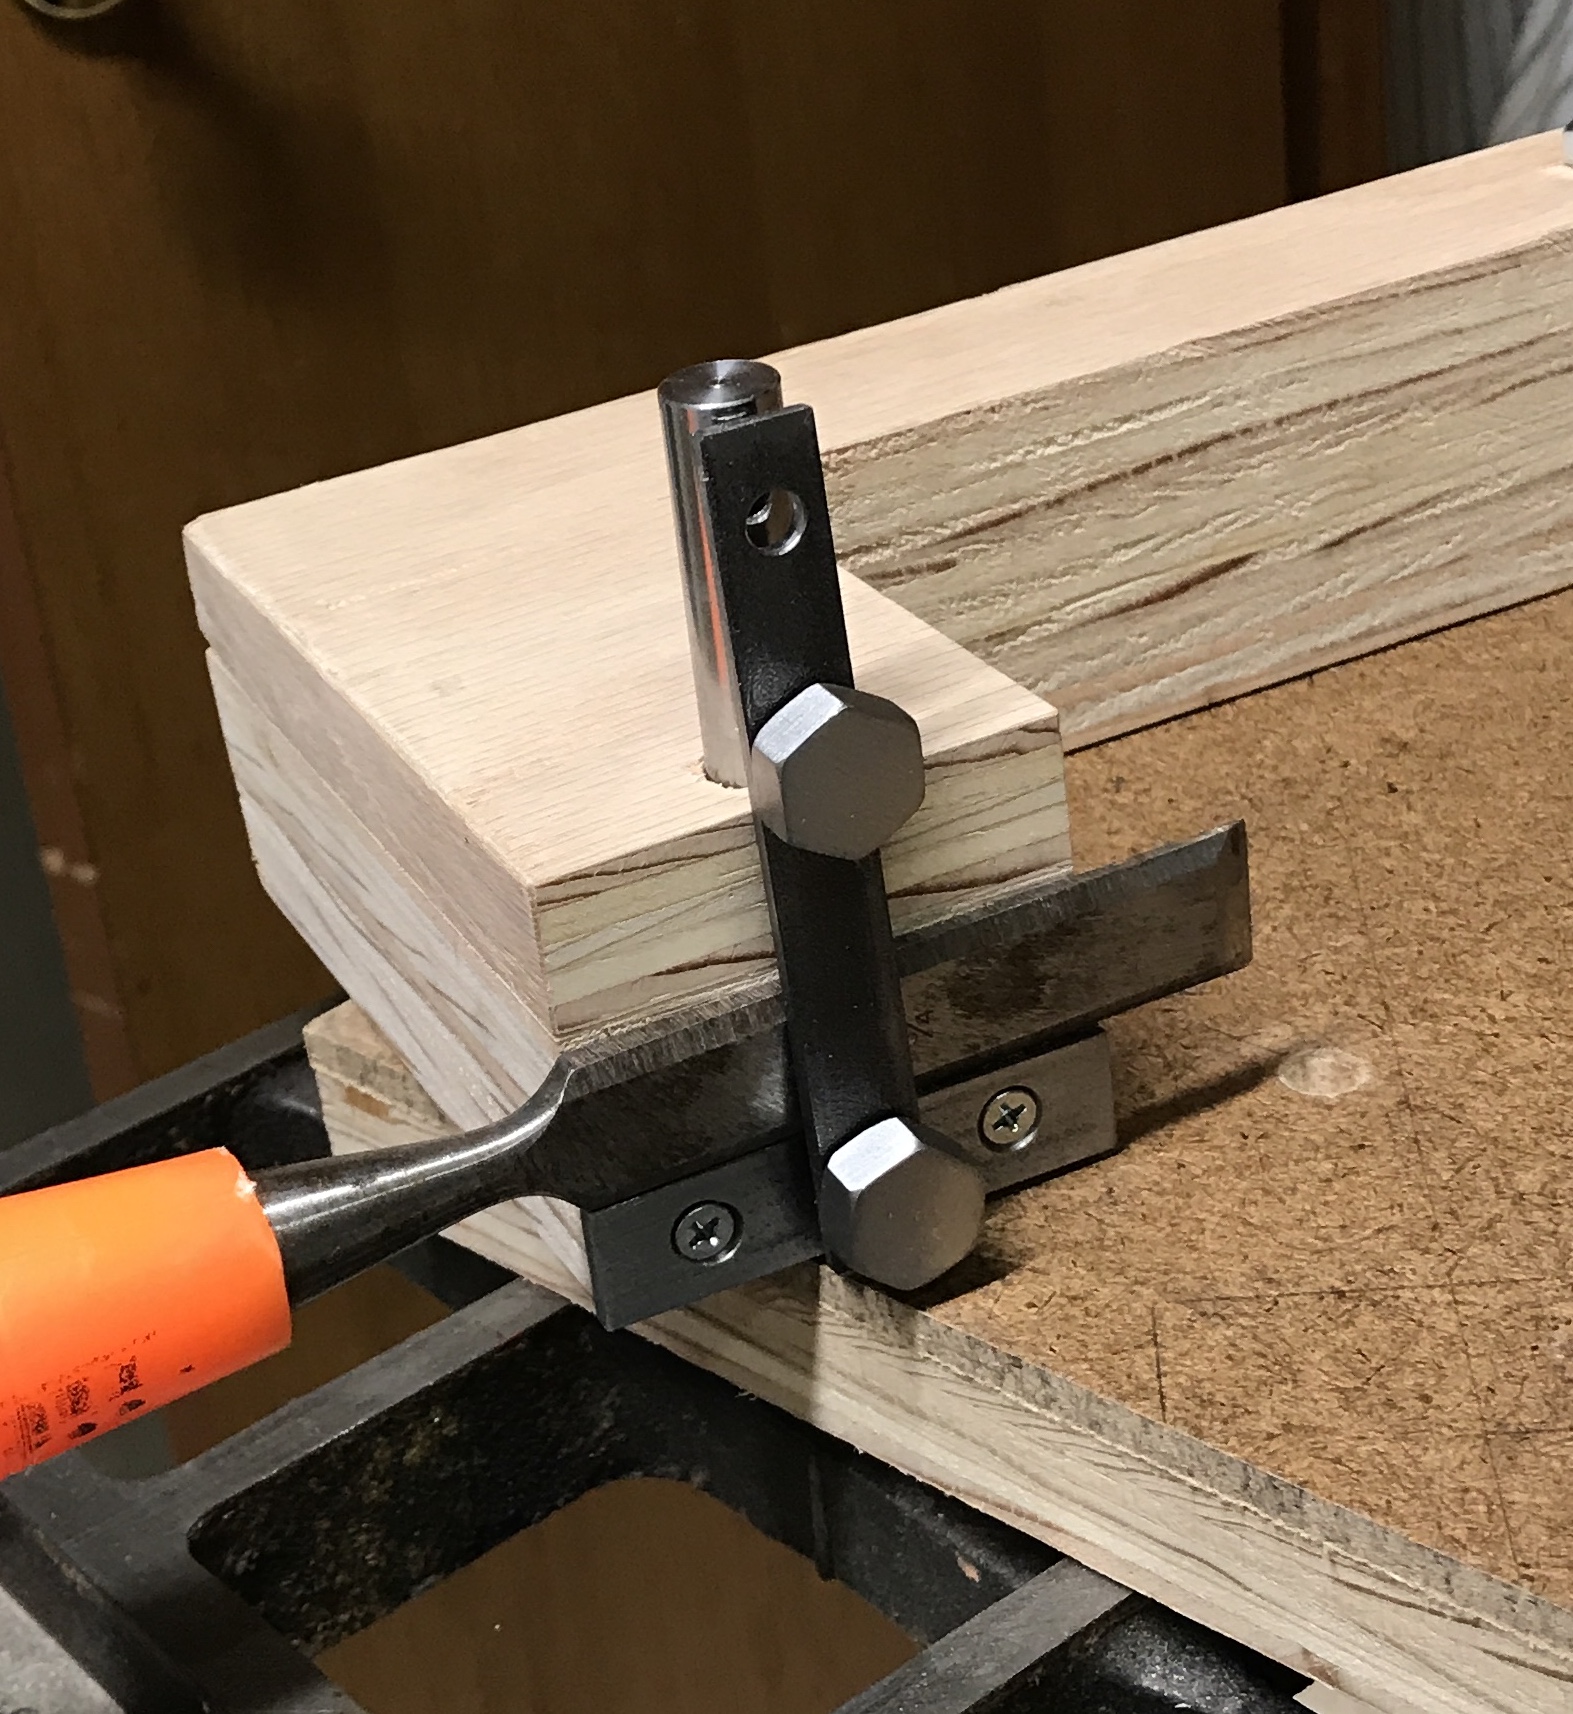
Two screws were needed to hold the tool strap clamp. Instead of buying the screws I made them from 3/4" steel hex. Two 1.375" lengths were cut from the bar. One end was faced and center drilled. The tailstock half-center was used to support the end of the work. 1" was reduced to 0.19". A 10-32 die was used to thread the reduced section. The threaded portion was held in a 3/16" collet. The hex end was faced to a length of 0.30". The edges of the hex end were chamfered. All faces of the hex head were sanded with 150 and 220 grit paper. The face was also sanded to 220 grit. The photo below shows the completed screws and the arm at this stage of production.
The strap clamp was made next. A 1/2" wide strip of 1/8" thick crap steel was cut to 3 3/4". Instead of milling this part was just filed. The tool rest needed a level surface. The face of the strap clamp was cleaned up with a wire brush held in the drill press. It was drilled 1/4" at 3/8", 2 3/8", and 3 3/8". The holes were deburred.
The clamp post was treated similarly. A 3 3/4" length of 1/2" drill rod was cut and then both ends were faced. A steady rest was needed for facing. The ends were chamfered. Holding the post in the vise, three holes were drilled at the same distances from the end as listed above. These holes were drilled and tapped 10-32. The #21 drill seemed dull so the holes were drilled first with a drill that was approximately 1/16" smaller than the #21. Tapping was started in the mill but finished using a tap wrench while holding the post in a vise. The holes were deburred with a countersink.
Spent an hour looking for sanding belts. The challenge is finding one that is 1.5" wide. The only useful product I found was a 25 yard roll of 1.5" wide cloth backed belt in 220 grit. This was ordered from Klingspor Woodworking Company. I also ordered 6" discs (120 grit) and one 180-grit belt, both for the belt sander. I went to Menards this morning to get the 3/4" MDF needed for the wheel. Also purchased many other things. I bought a 2 X 4' board. This morning I cut off a 12" X 24" section and then cut this in half. I used the recently made circular saw cutting jig to set the fence in the right place. Worked like a snap. Wish I had it years ago.
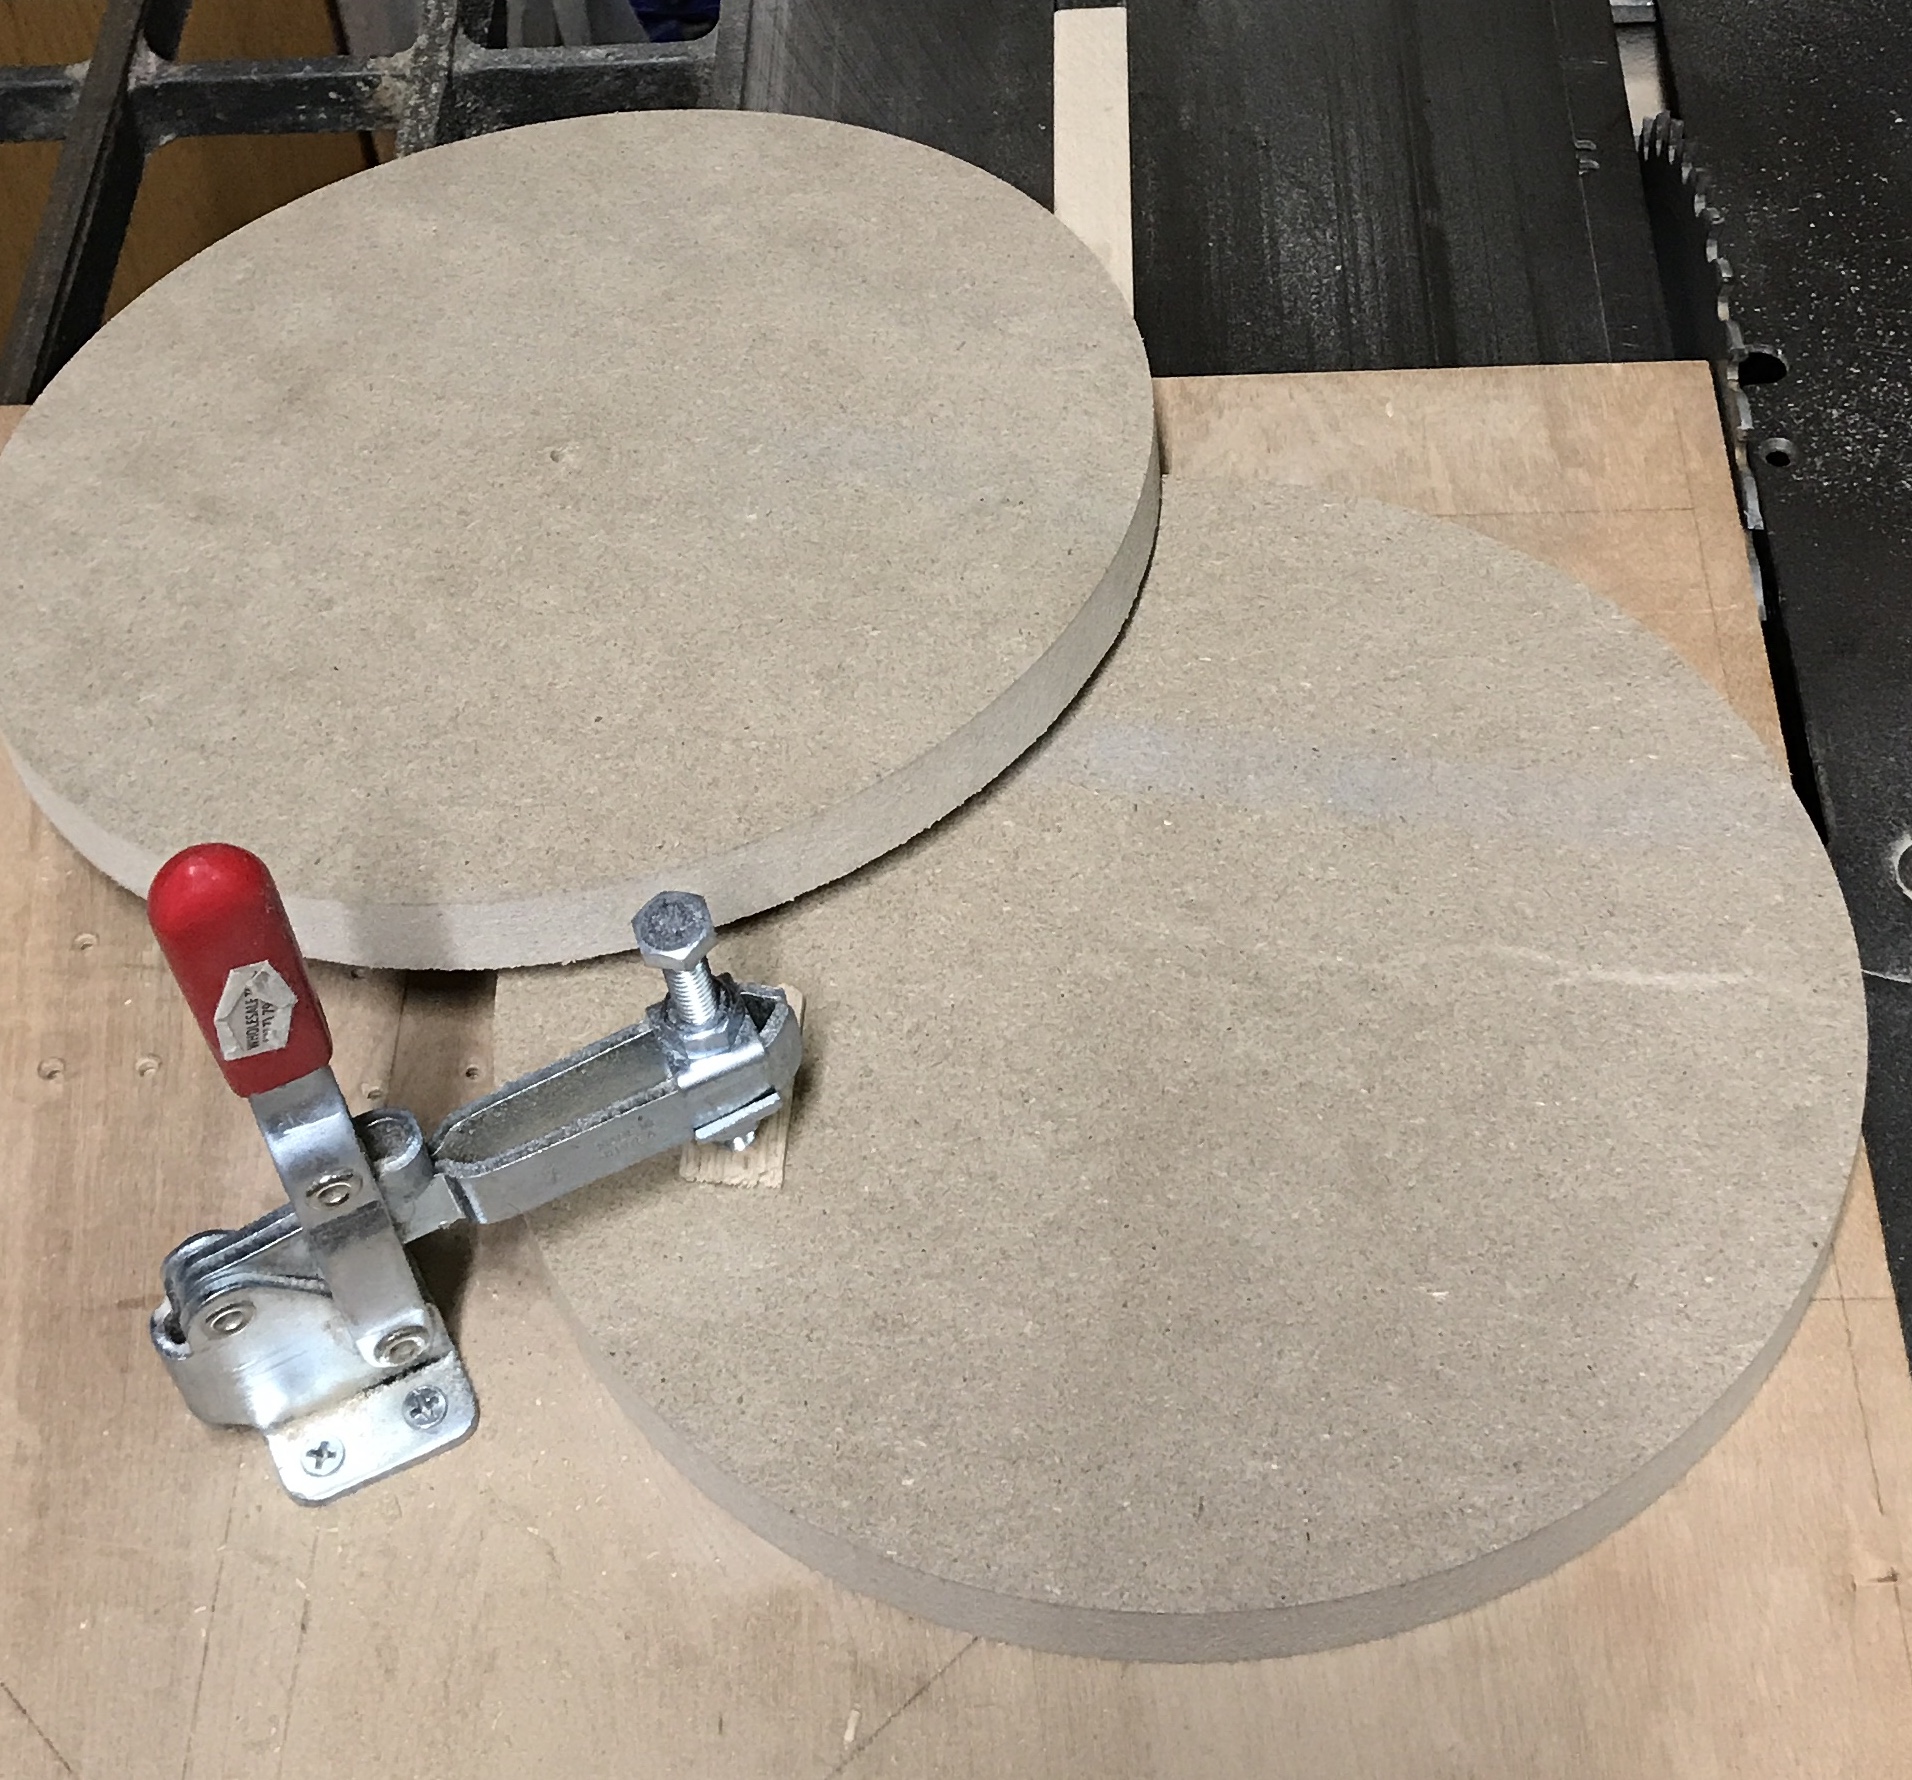
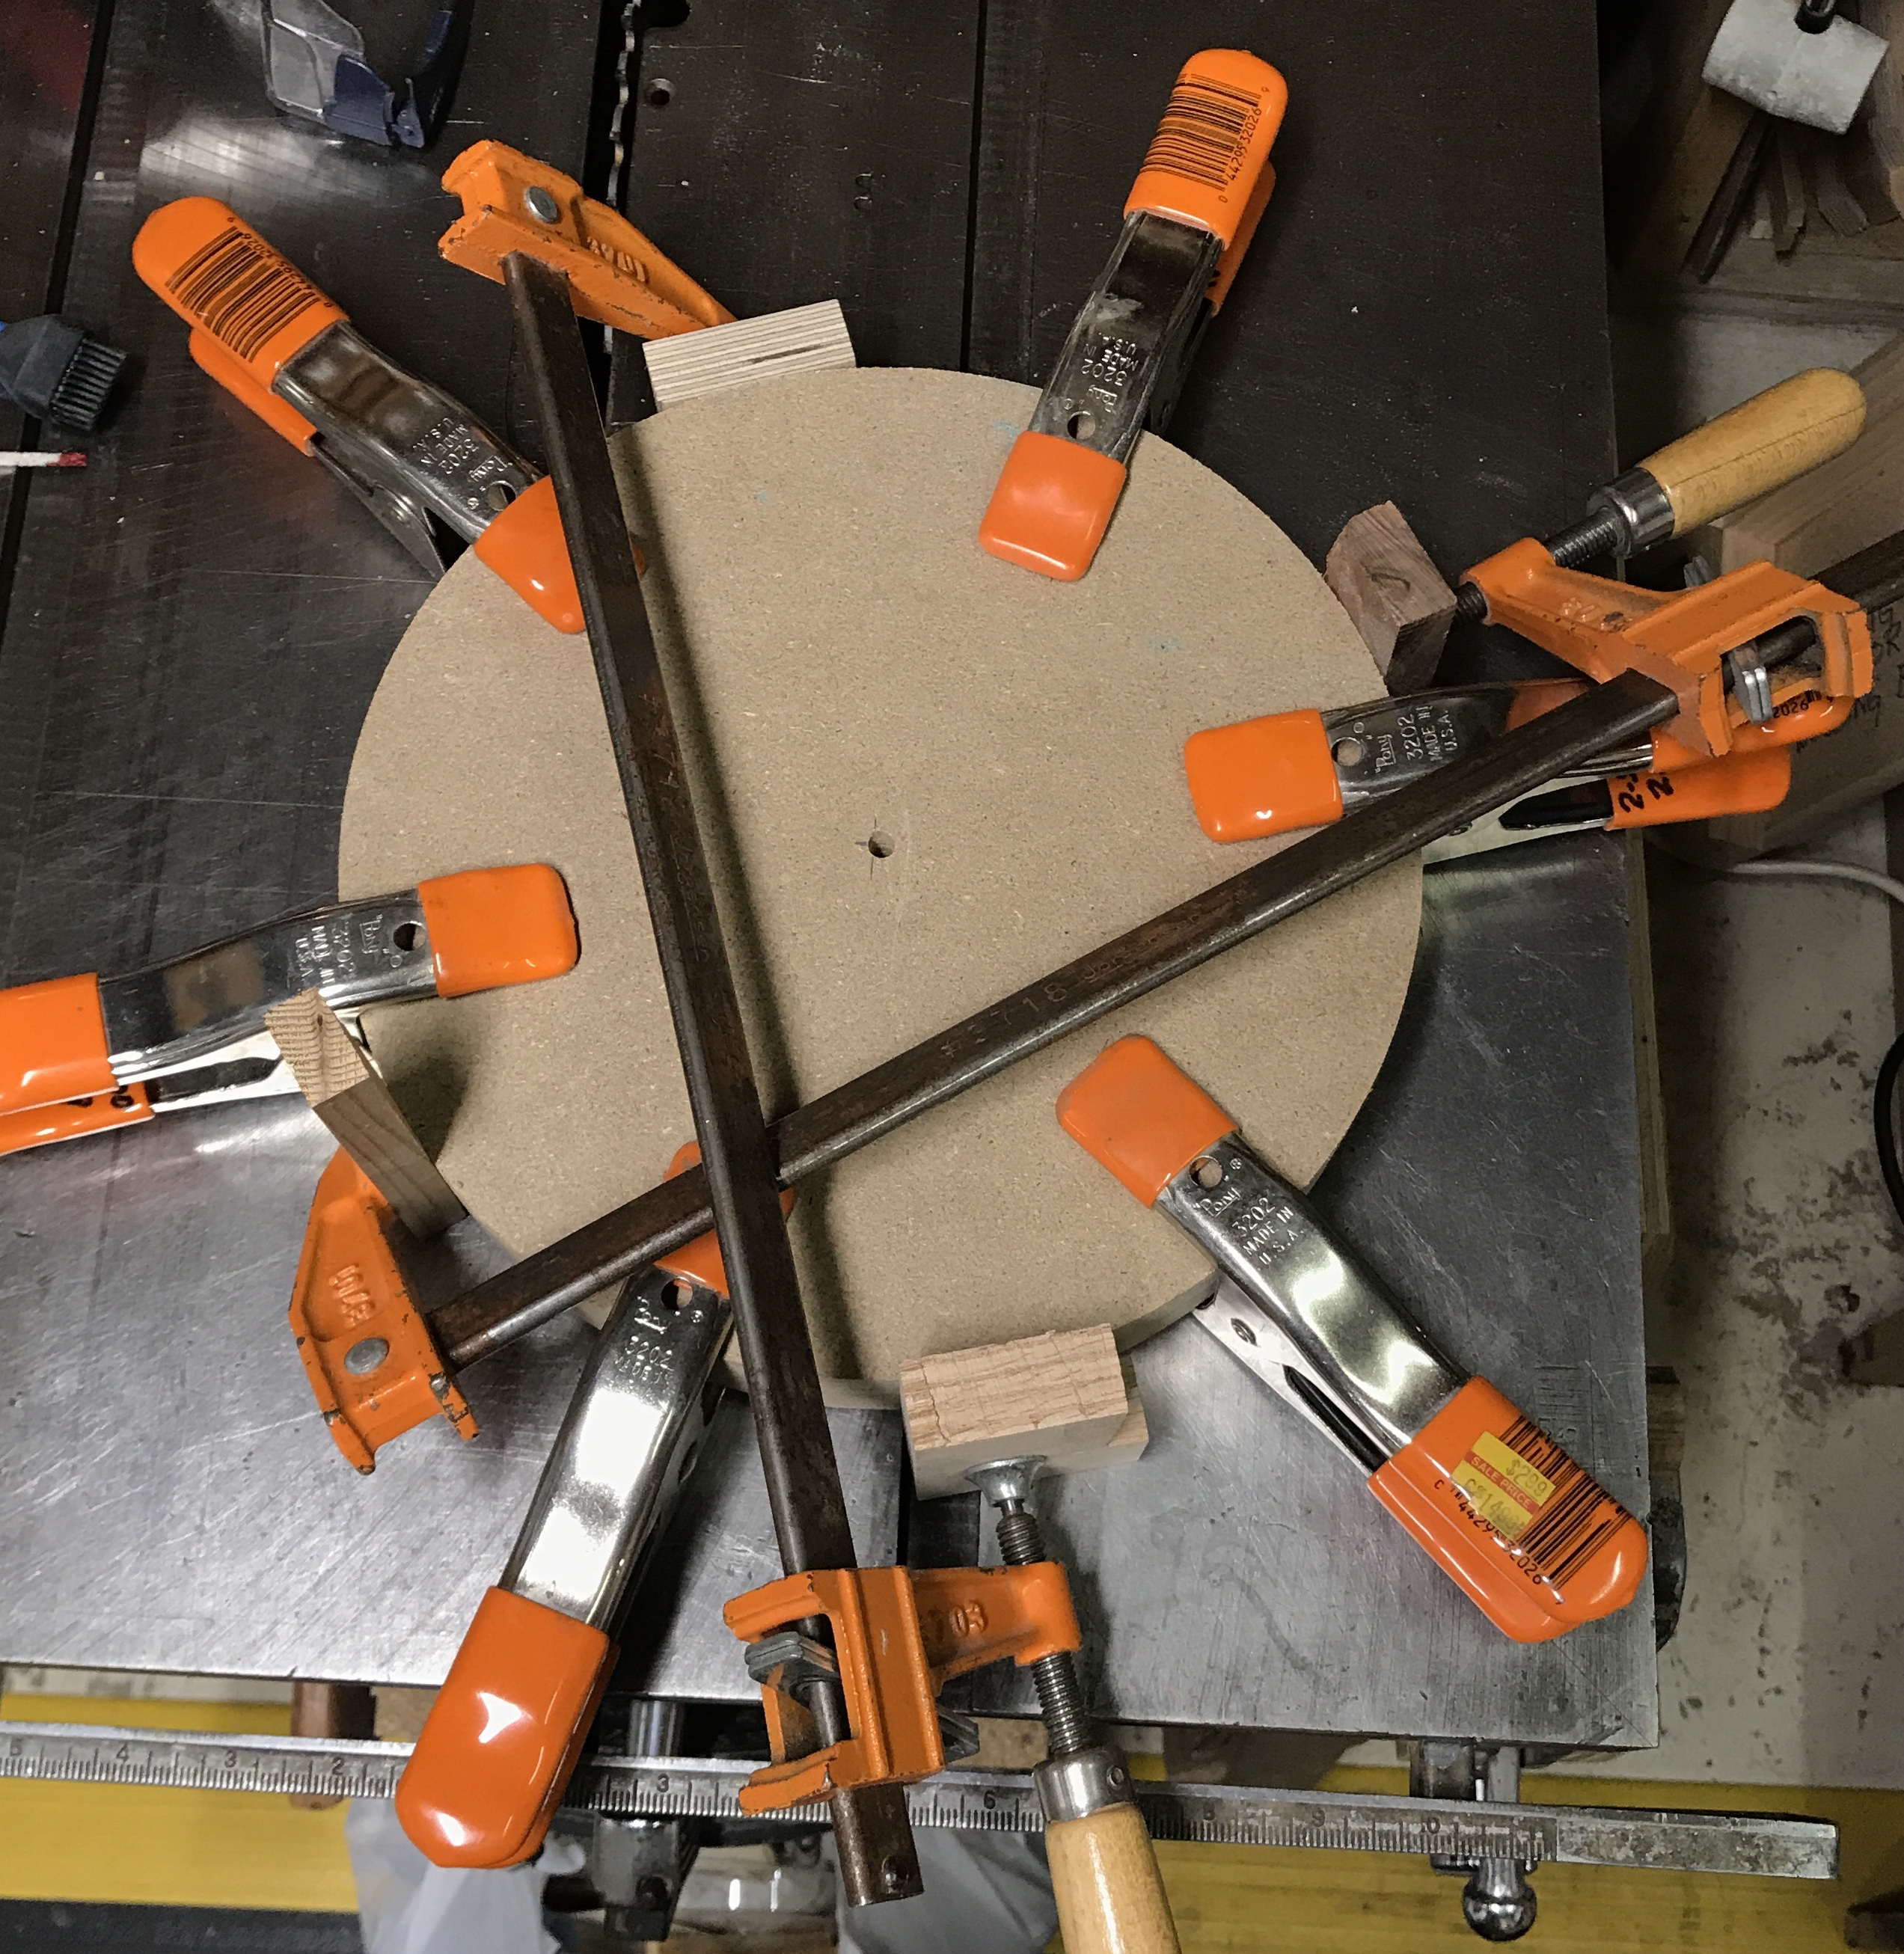
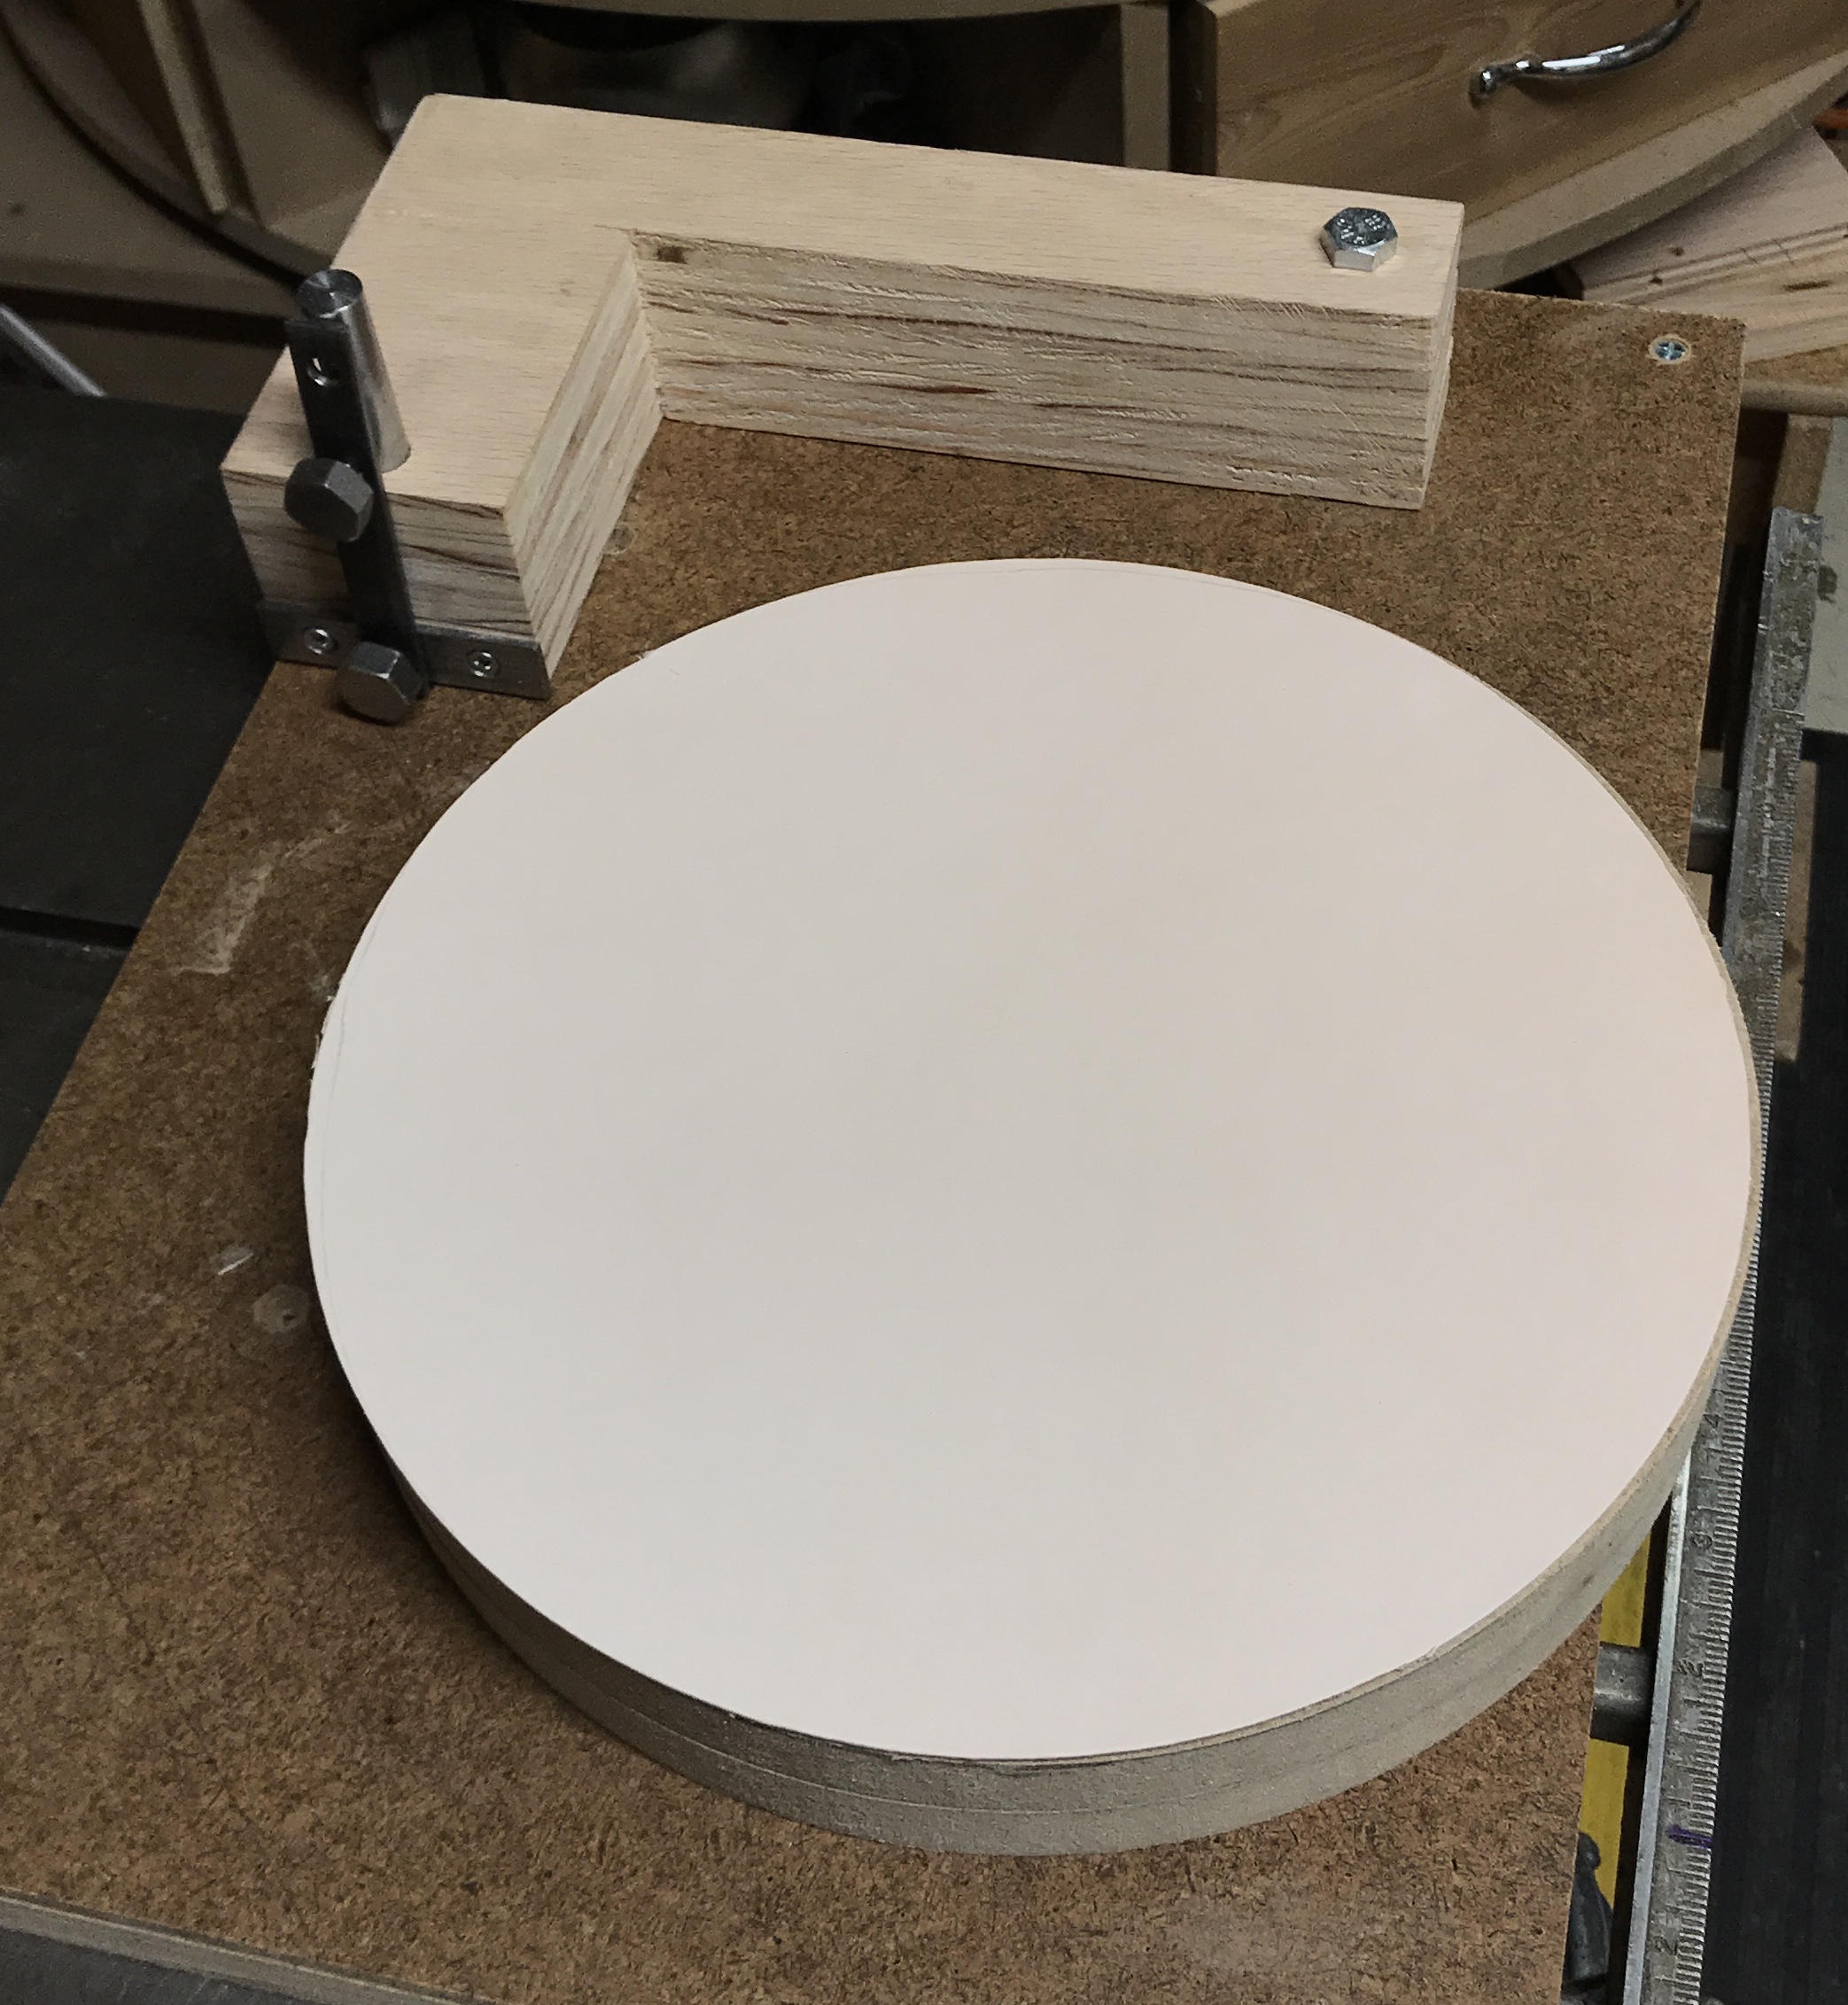
The circles were cut. The crosscut sled was drilled for a 1/4" hole 5" from the edge. The hold-down clamp was moved to fit this size circle. 1/4" holes were drilled in the center of each 12" X 12" square. A 1/4" steel peg was quickly prepped on the lathe. First, the corners were cut off of the two squares getting them somewhere beyond an octagon. This way the wood was short of the clamp. It was necessary to hold the squares very tightly so they did not turn and catch while sawing. The resulting n-gons were cut to circles using the hold-down clamp. It was probably overkill, but they were turned in about 1° increments. Each took about 25 minutes. They were perfect circles with no noticeable faces. The picture below shows the two circles. The two circles were glued up as seen in the second shot.
Enlightening! I used the RPM counter to measure the speed of the garage drill press spindle. It is 1200 rpm! No wonder it smokes whenever I drill with it. This sharpener needs to use this drill press as the throat of the basement drill press is too narrow. I took a photo of the plate on the motor. Its RPM is listed at 3450, twice the speed of the motor on the lathe! At the current rotation rate the sandpaper would be flying by the chisel at 3,142 feet per minute! A speed reducer of some sort is a necessity.
The leather was purchased today from Landwerlen Leather Co. on S. Illinois St. The smallest piece they had was about 4' X 4'. It is veg tanned and about 5 oz. I placed the wooden circle on the leather and cut it with a utility knife. It cut fairly easily. It smells nice in small doses, but quickly grew overpowering. The remainder was rolled up and stored in the garage. I am not sure which side to glue. One is smooth and the other is rougher. Searching on the web indicated that different people prefer different sides. The majority favored the smooth side for stropping. The rough side was sprayed with 3M contact adhesive as was the top face of the wooden platen. The leather was applied and pressed with assorted heavy objects. After an hour the glue was dry.
I was getting ready to cut the 1/2" hole in the center of the leather, when I noticed the leather starting to separate from the wood on the edges. I replaced the weights and hoped for the best. Was the glue used the wrong type? After about a week at least 20% of the leather is no longer attached. Yes. The glue was the wrong type! The other two glues recommended for bonding leather to wood are wood glue and cyanoacrylate glue. Wood glue was applied and weights were applied for 24 hours. Two days later and the leather is still tightly bonded.
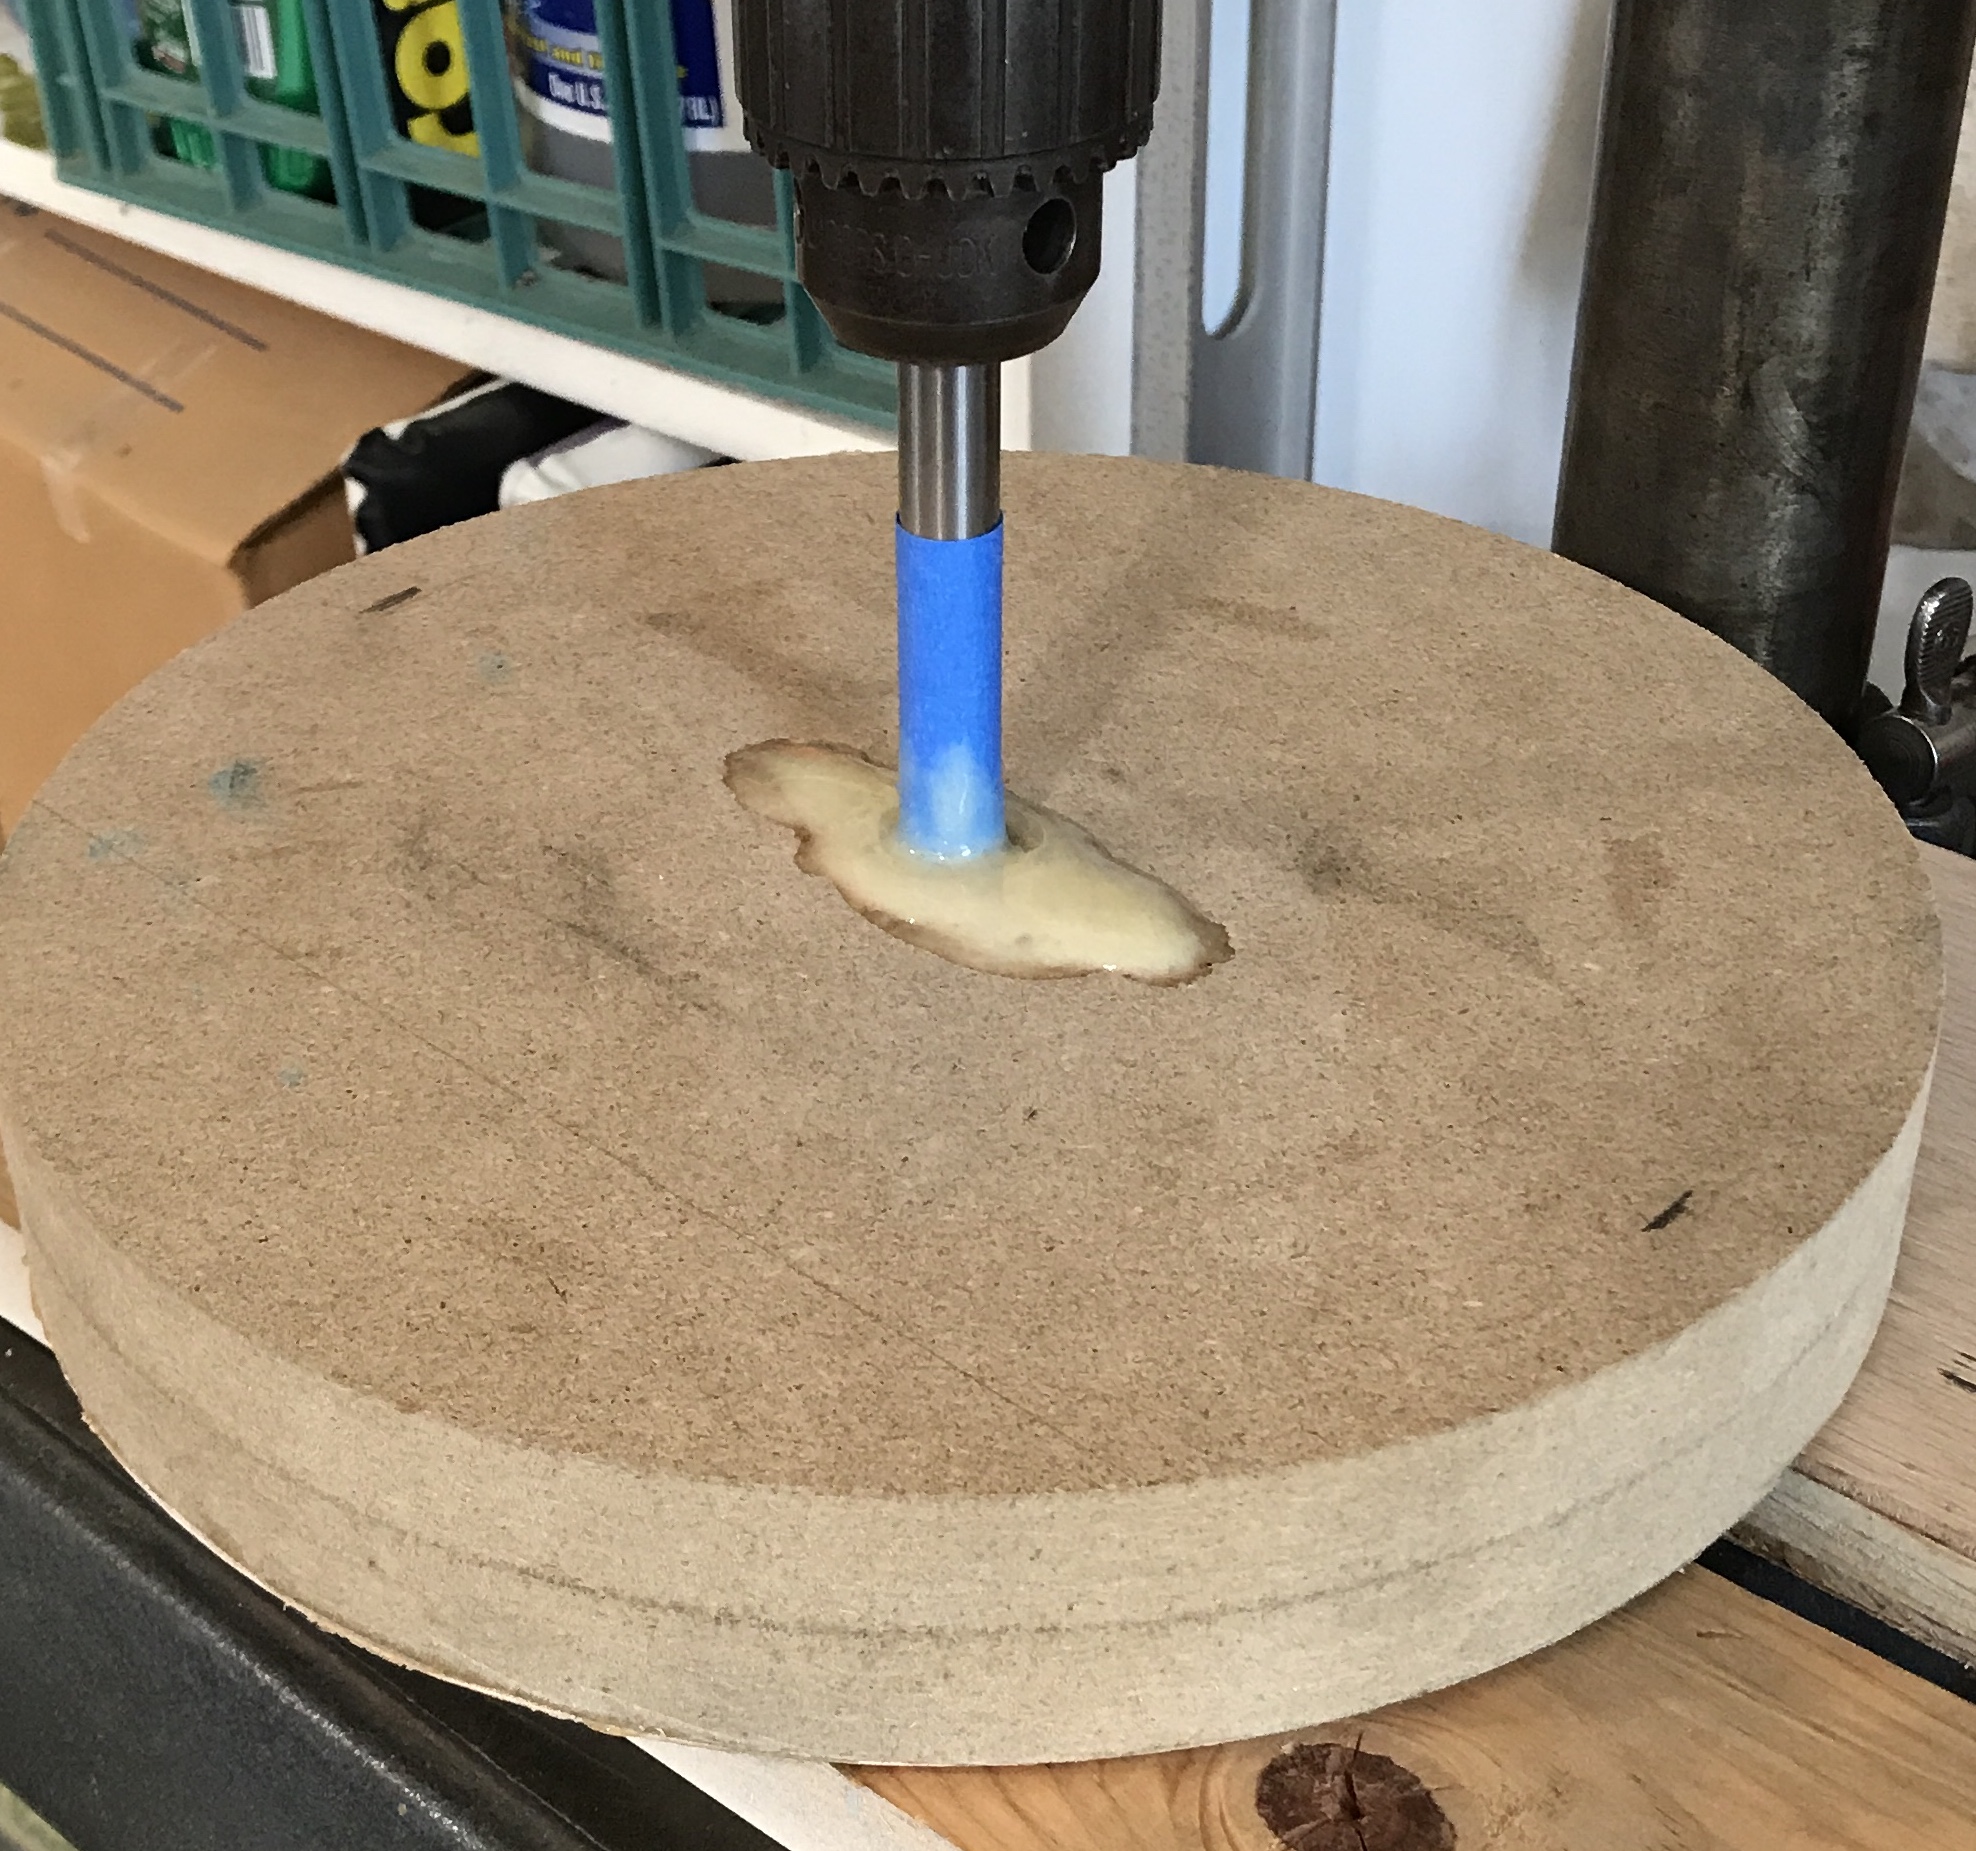
The shaft was the next order of business. A 12" length of 1/2" drill rod was located. A cross hole was drilled and reamed 3/16", 4" from the end of the shaft. A length of 3/16" brass rod was found and cut to 3". The ends of the steel and brass rods were faced and chamfered with the South Bend lathe. The slot made earlier in the platen was easily widened with a chisel. The brass rod was inserted into the shaft. The shaft was inserted into the hole in the leather covered wheel. The shaft was wrapped in painter's tape. The shaft was held in the drill press chuck. Epoxy was made up and spooned around the shaft and over the rod. More epoxy was added as it slowly flowed into the hole around the shaft. The photo shows the epoxy after application.
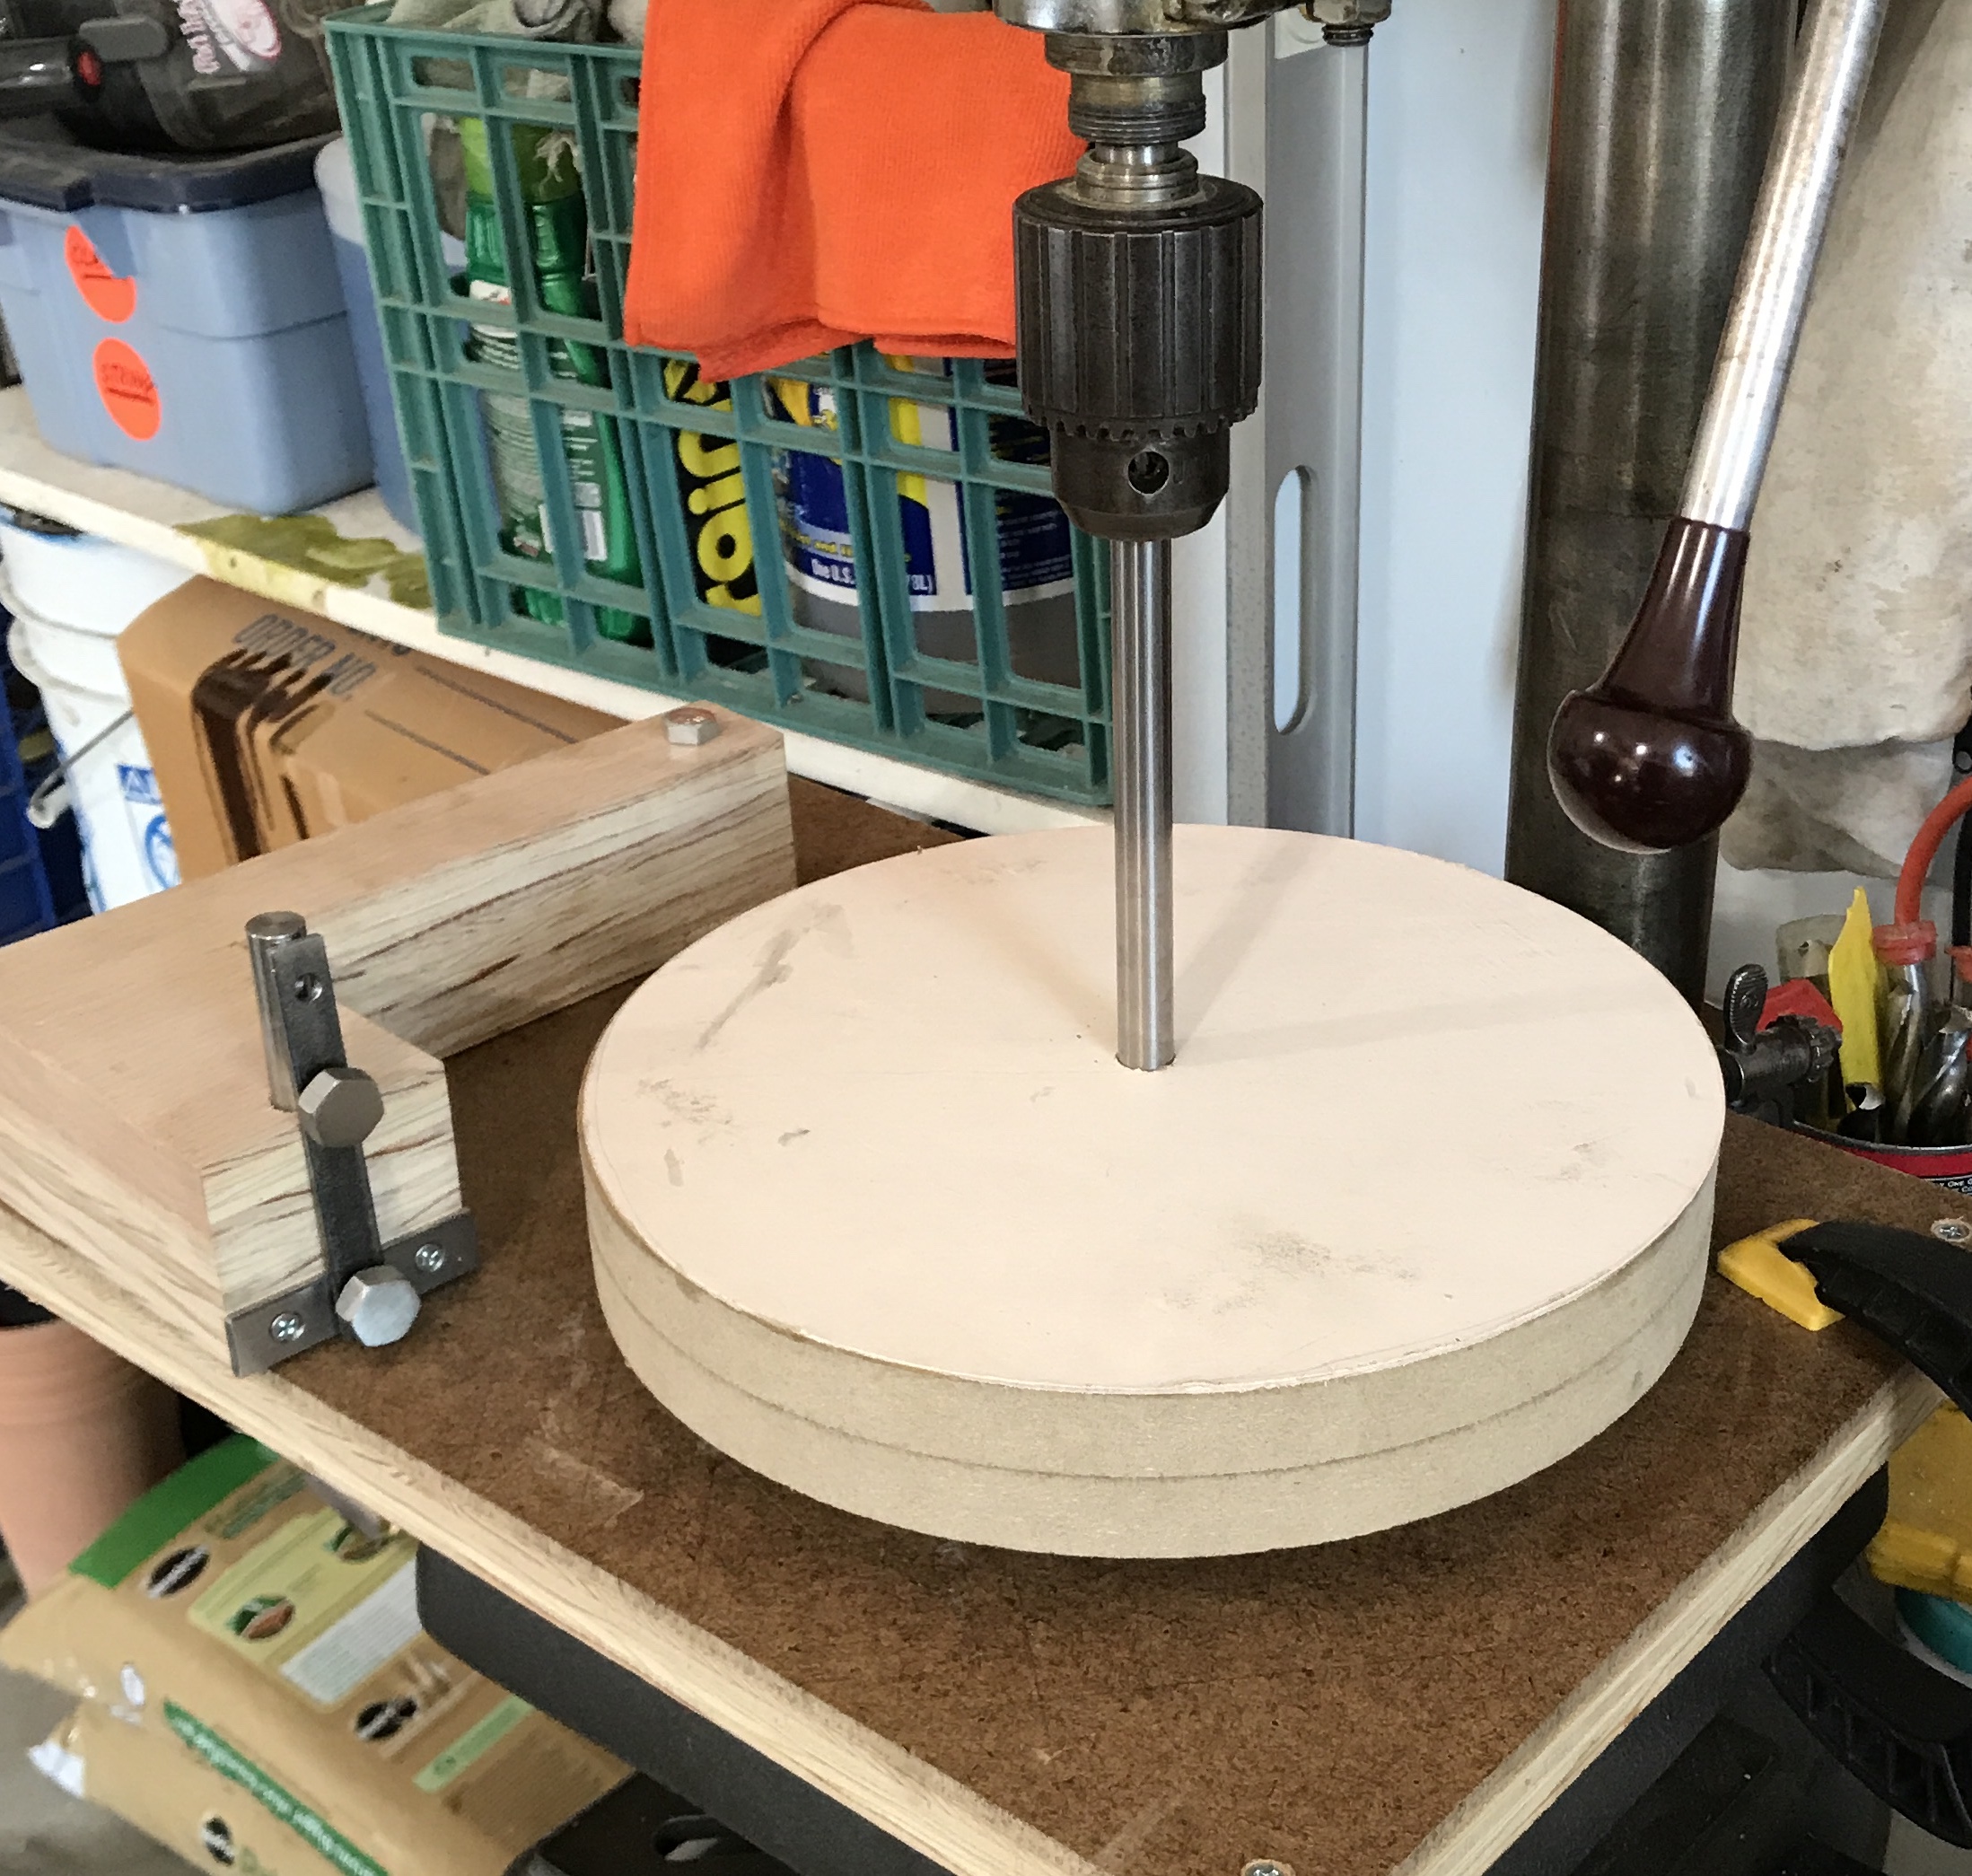
The epoxy dried overnight. The excess was removed with a chisel. All attempts to align the shaft, chuck and table were unsuccessful. I am surmising the bearing in the table is not perfectly aligned. The bearing was redrilled with a 1/2" drill and this did not improve the situation. I don't own a 33/64" drill, which was the obvious next step. What I do own, however, is a set of tapered reamers. I don't know what they are usually used for, but I thought I could take advantage of one of them. One of the set runs from 1/2" to 0.575". After various attempts at measuring the reamer at different distances from the free end I marked a position that was close to 33/64". I also marked a spot about 1/4" above this mark. The reamer was used to open the bearing first, from one side and then from the other. It was inserted in both sides down to the second mark, ensuring the middle of the bearing was opened sufficiently. The reaming had to proceed slowly with cutting fluid to avoid binding. The shaft, table and chuck could now be readily aligned. The photo below shows the parts assembled.
An attempt was made to true the wheel. A piece of sandpaper wrapped around a sanding block, which was held between the wheel and the chisel holder. This was pressed gently against the wheel so that only the high spots would get sanded. This was moderately effective. It is not perfectly true, but it is very close. The cloth-backed sandpaper that was purchased from Klingspoor is supposed to be glued to the rim of the platen with contact adhesive. The adhesive was purchased from Home Depot. It was painted on the rim of the wheel. It immediately soaked in leaving nothing behind. It was painted two more times before there was glue to dry on the rim. The back of the sandpaper was also painted with the glue. After fifteen minutes both surfaces were dry to the touch. The sandpaper was applied from the middle out to the two ends, which had been spline cut.
The wheel was put back into the drill press above the table. A chisel was installed in the clamp and was sanded. The sanding went well except the chisel was sanded at a slight angle. I could not determine a cause for this. The remainder of the chisels were sanded very lightly. This seemed to minimize the off angle cutting. It was also easy to sand them by hand. A water based honing fluid was squirted onto the leather. The chisels were polished after letting this dry. I did not like this honing fluid. It was difficult to tell if there was any cutting action left after just a short use. The magazine article had a picture in which green rouge was applied to the leather. I will try that and see how it compares.